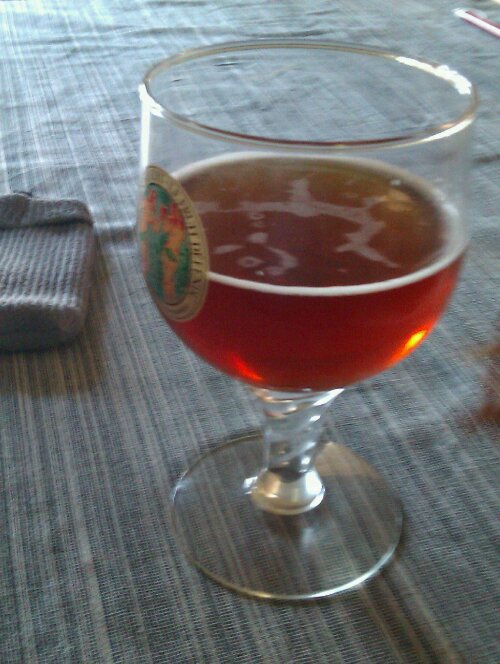
Een mooi glas bier na elke tocht, maar meestal uit de fles. Geen glazen aan boord.
Een mooi glas bier na elke tocht, maar meestal uit de fles. Geen glazen aan boord.
Nine years ago I ordered the plans for the Single Expedition. This build was expected more difficult than that of the Night Heron. At this moment the Night Heron is ready but the water is to cold to have it baptized and make the maiden trip. So I still do not know how its caracter is.
I now have two kayaks designed by Nick Schade and want to try another designers plans. I did make a choice for the Fire Star by Rob Macks.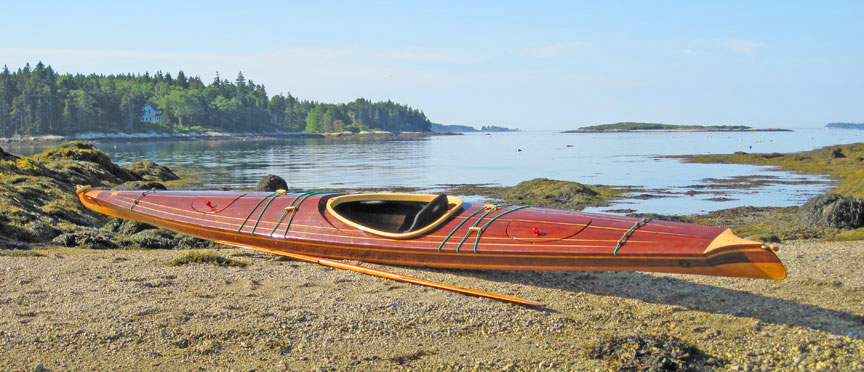 The North Star, about which Etienne Muller is enthusiastic, is a bit too much in volume and the Fire Star is a scaled down version of the North Star.
My son and daughter don’t like the bifurcated bow of the design. I also had my hesitations but the more I looked at the plans (on the website) the more I liked it. So I ordered the plans and will start to build in a few months.
Rob Macks gives very detailed building instructions and I will start with making the stern and the bow section molds.
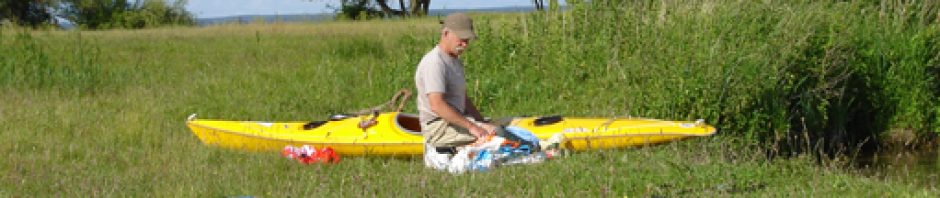
The strips I will be using are poplar again. I will try to book match and make more consistence strip thickness. I have still a few boards of poplar and Western Red Cedar is expensive still. I calculated that it would cost me € 500 and the poplar will cost me nothing because I already have it.
I bought the wood two years ago from Wietske’s Friese Fijnhouthandel (https://www.haalhout.nl)
At this moment, the kayak is almost finished. I could not bring myself to keep this log. I did not make enough photo’s in the past half year.
The kayak has to be varnished again when it is warm. At this moment the stove produces too much dust.
The seat still has to be mounted. I will make it so that I can shift it ca. 5 cm from fore to aft. Also the footrest from Nick’s book is almost finished. It has to be varnished and then I can mount the rail. I will glue it in with ‘polymer kit’. With that stuff I mounted the footrests in my guillemot S&G kayak without screws or bolts. It is very firm and sits 5 years now.
I had difficulties with mating the two halves of the kayak. I filled the gaps with epoxy thickened with flower (for pancakes). This has the same color as the epoxied wood so you have difficulties to find the gaps. The deck is not designed but grew under my hands.
After a long winter stop, it was too cold in the shop, I am building again. I ripped the dark boards into small strips and also split a few poplar strips into 10 mm wide small strips that will follow some curves better.
The deck is almost planked now. Still no photo’s but they will come soon. I had a lot of trouble with beveling. The bevel at the ends had to be very big, so I decided to work around that. I started planking in the center of the deck with parallel strips which protrude over the ends and stopped with that when the bevel was smaller. The consequence is that you will see the ends of the strips and not the topside in that area.
This winter it was far to cold to work comfortable in the unheated garage. In January I tried an old stove but I had to heat more than two hours to get the temperature above 12 C (62.6 F) and that was much to long for an evening work. So I started building in March but took no time to work on this blog.
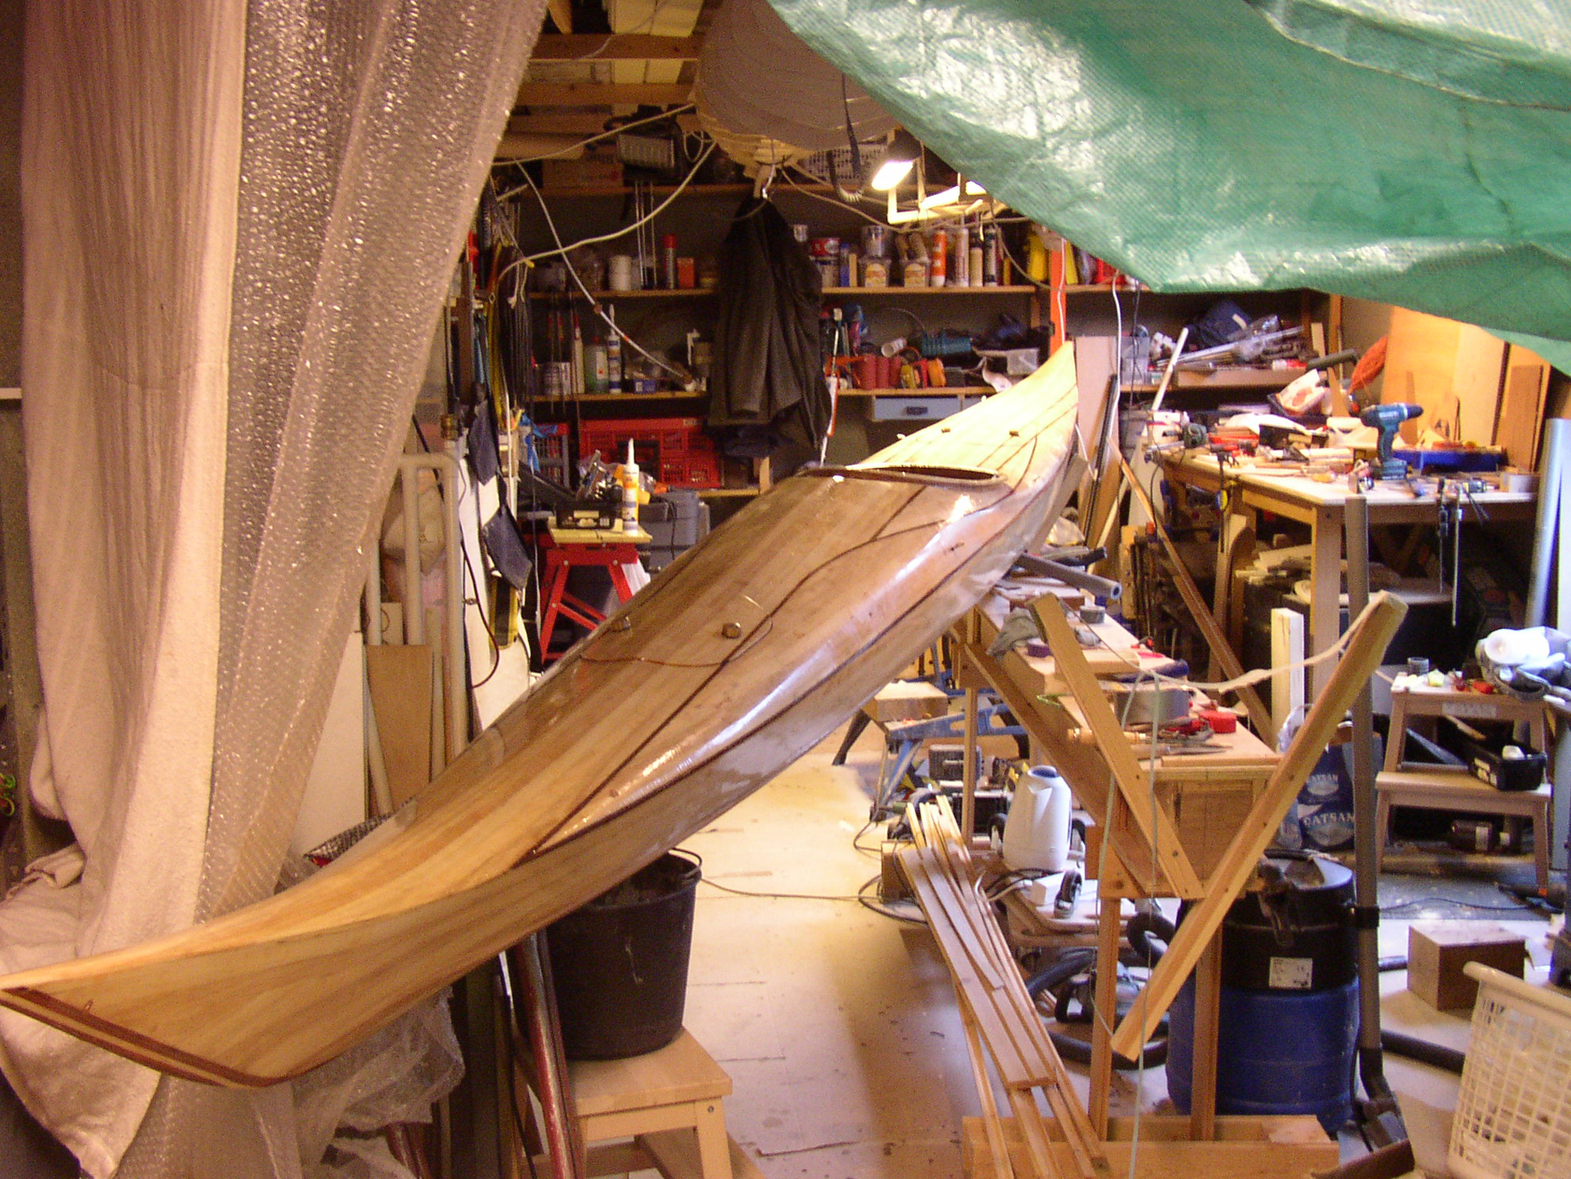
To turn the kayak I had to change the support in the external strong back. I hung the kayak in slings to the ceiling and altered the support then lowered the kayak into it.
The next problem to solve is the big change in deck angle for the first strips at the shear. At the ends the strip is almost laying flat so the side of the strip will touch the edge of the last hull strip. Two frames from the end the edge of the strip has to make contact with the hull. How do I bevel that?
I want a dark small strip between deck and hull. So I have to rip those first.
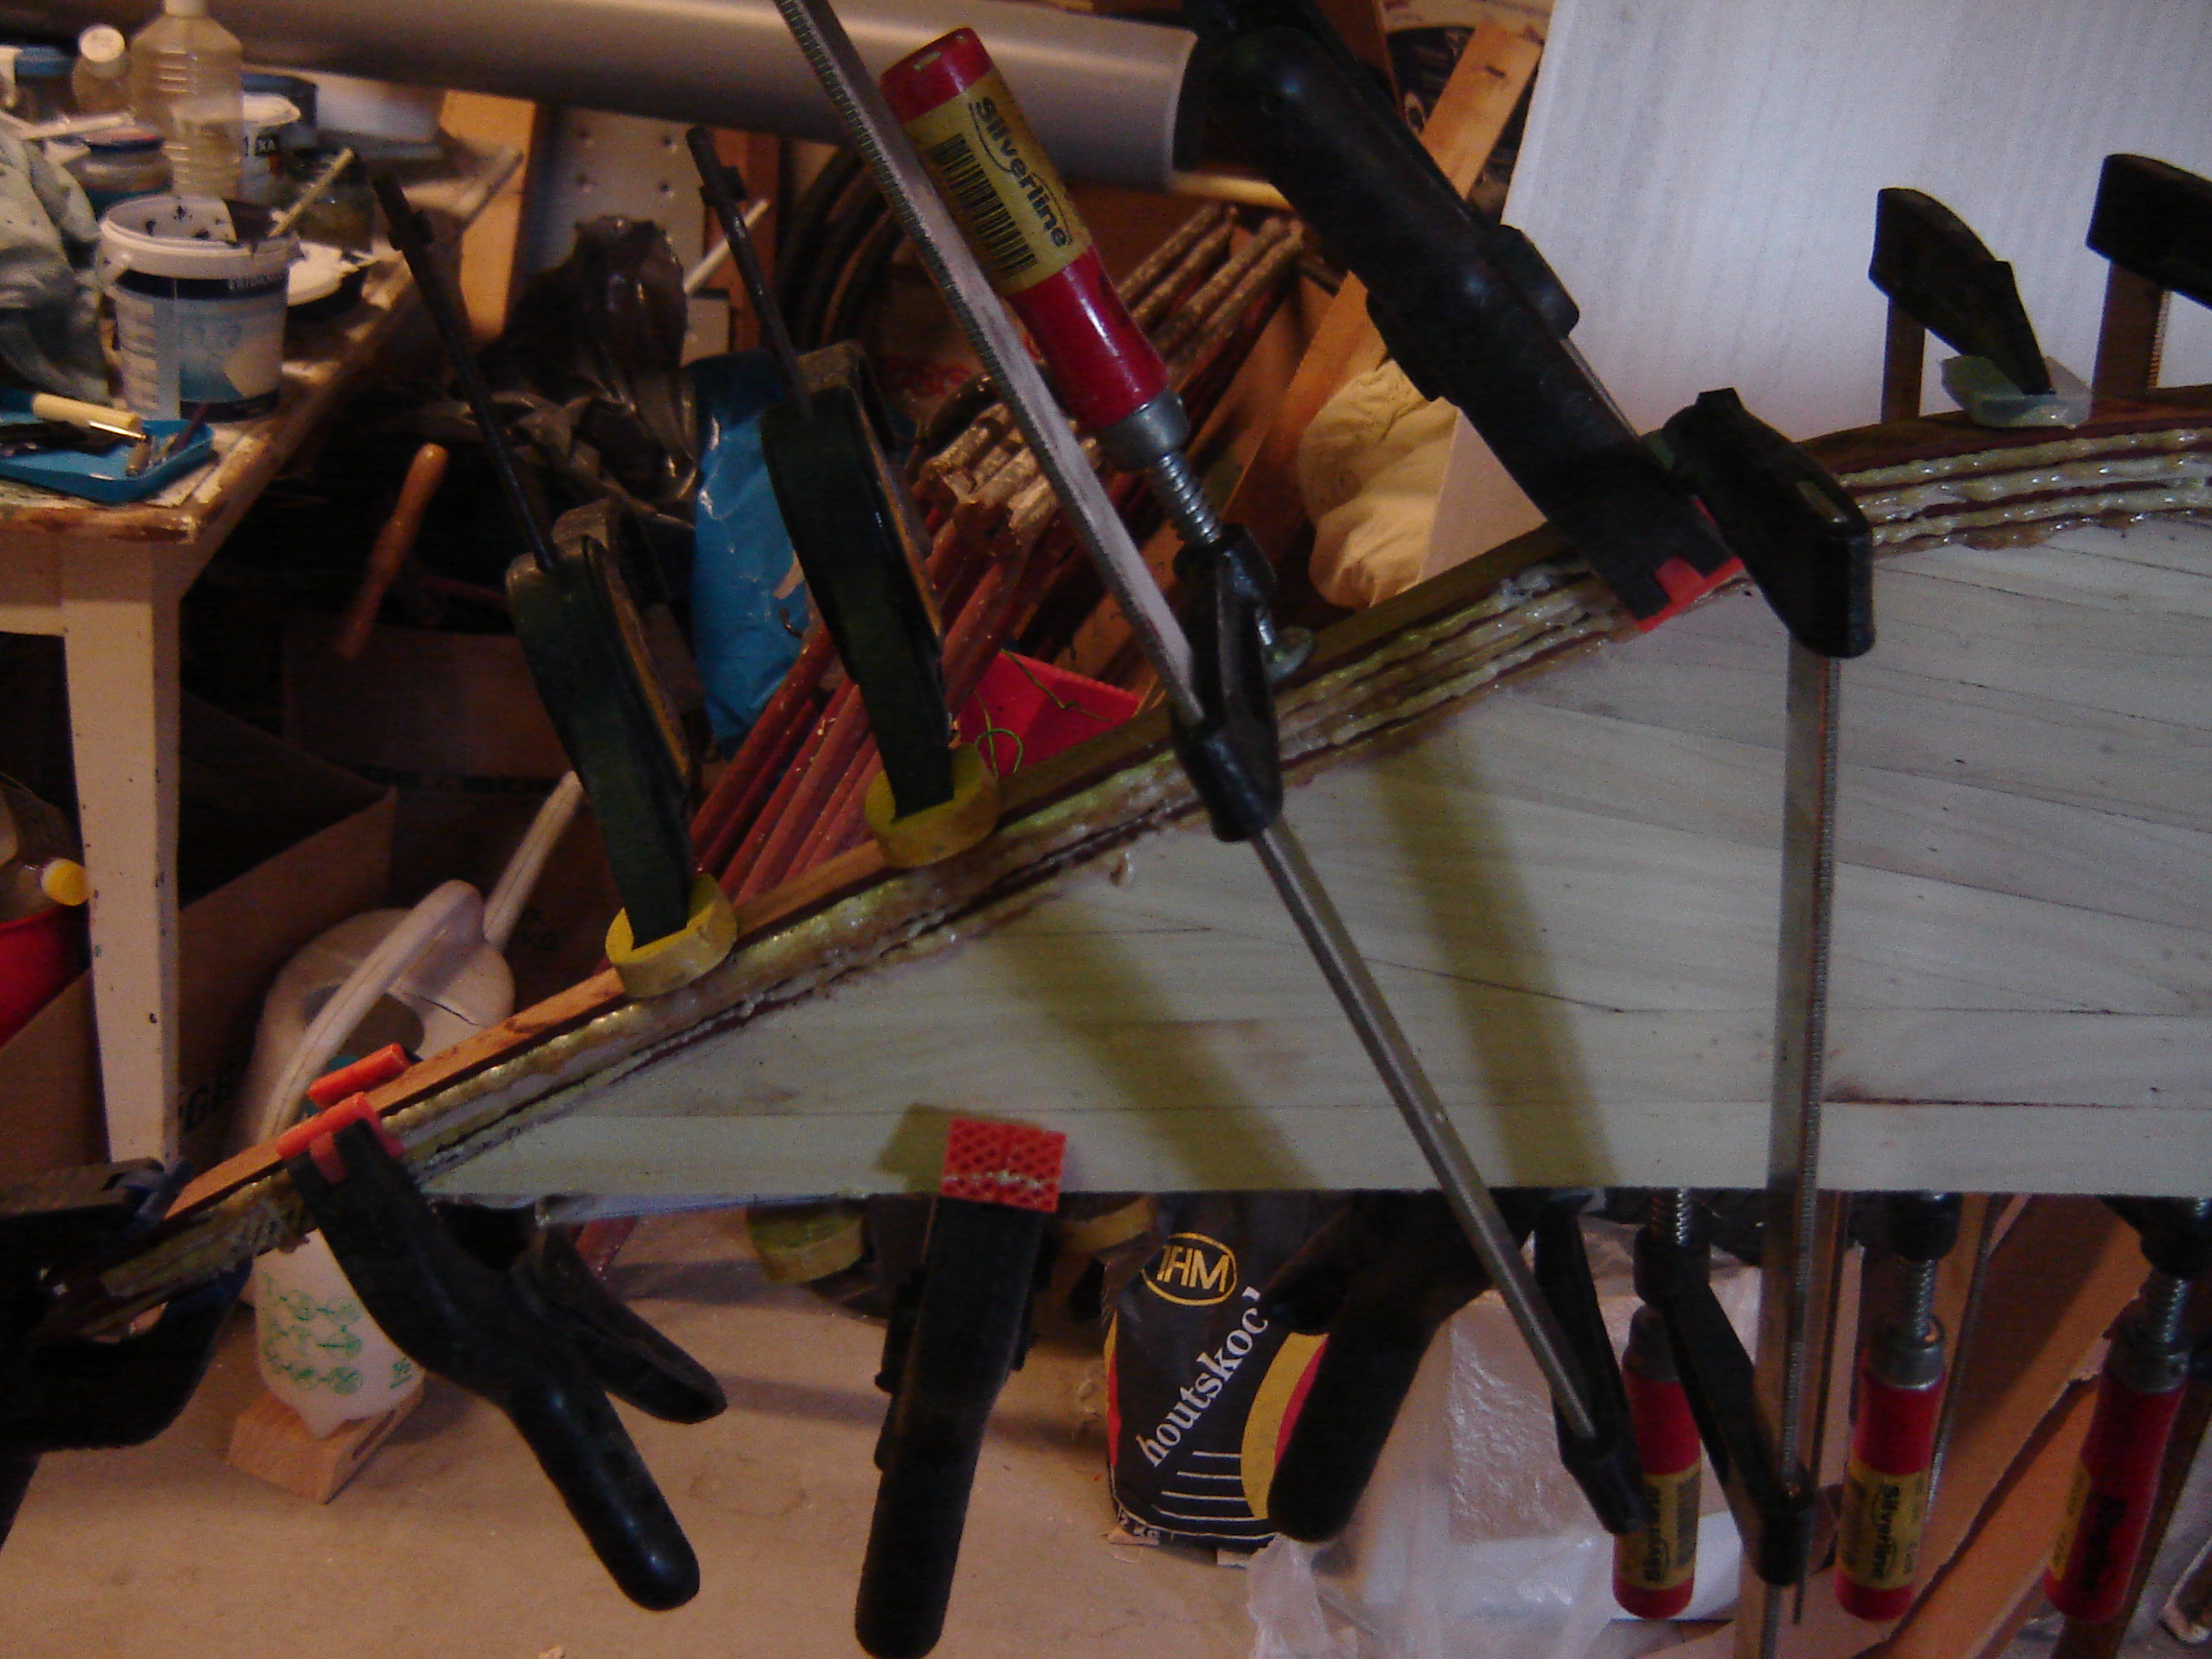
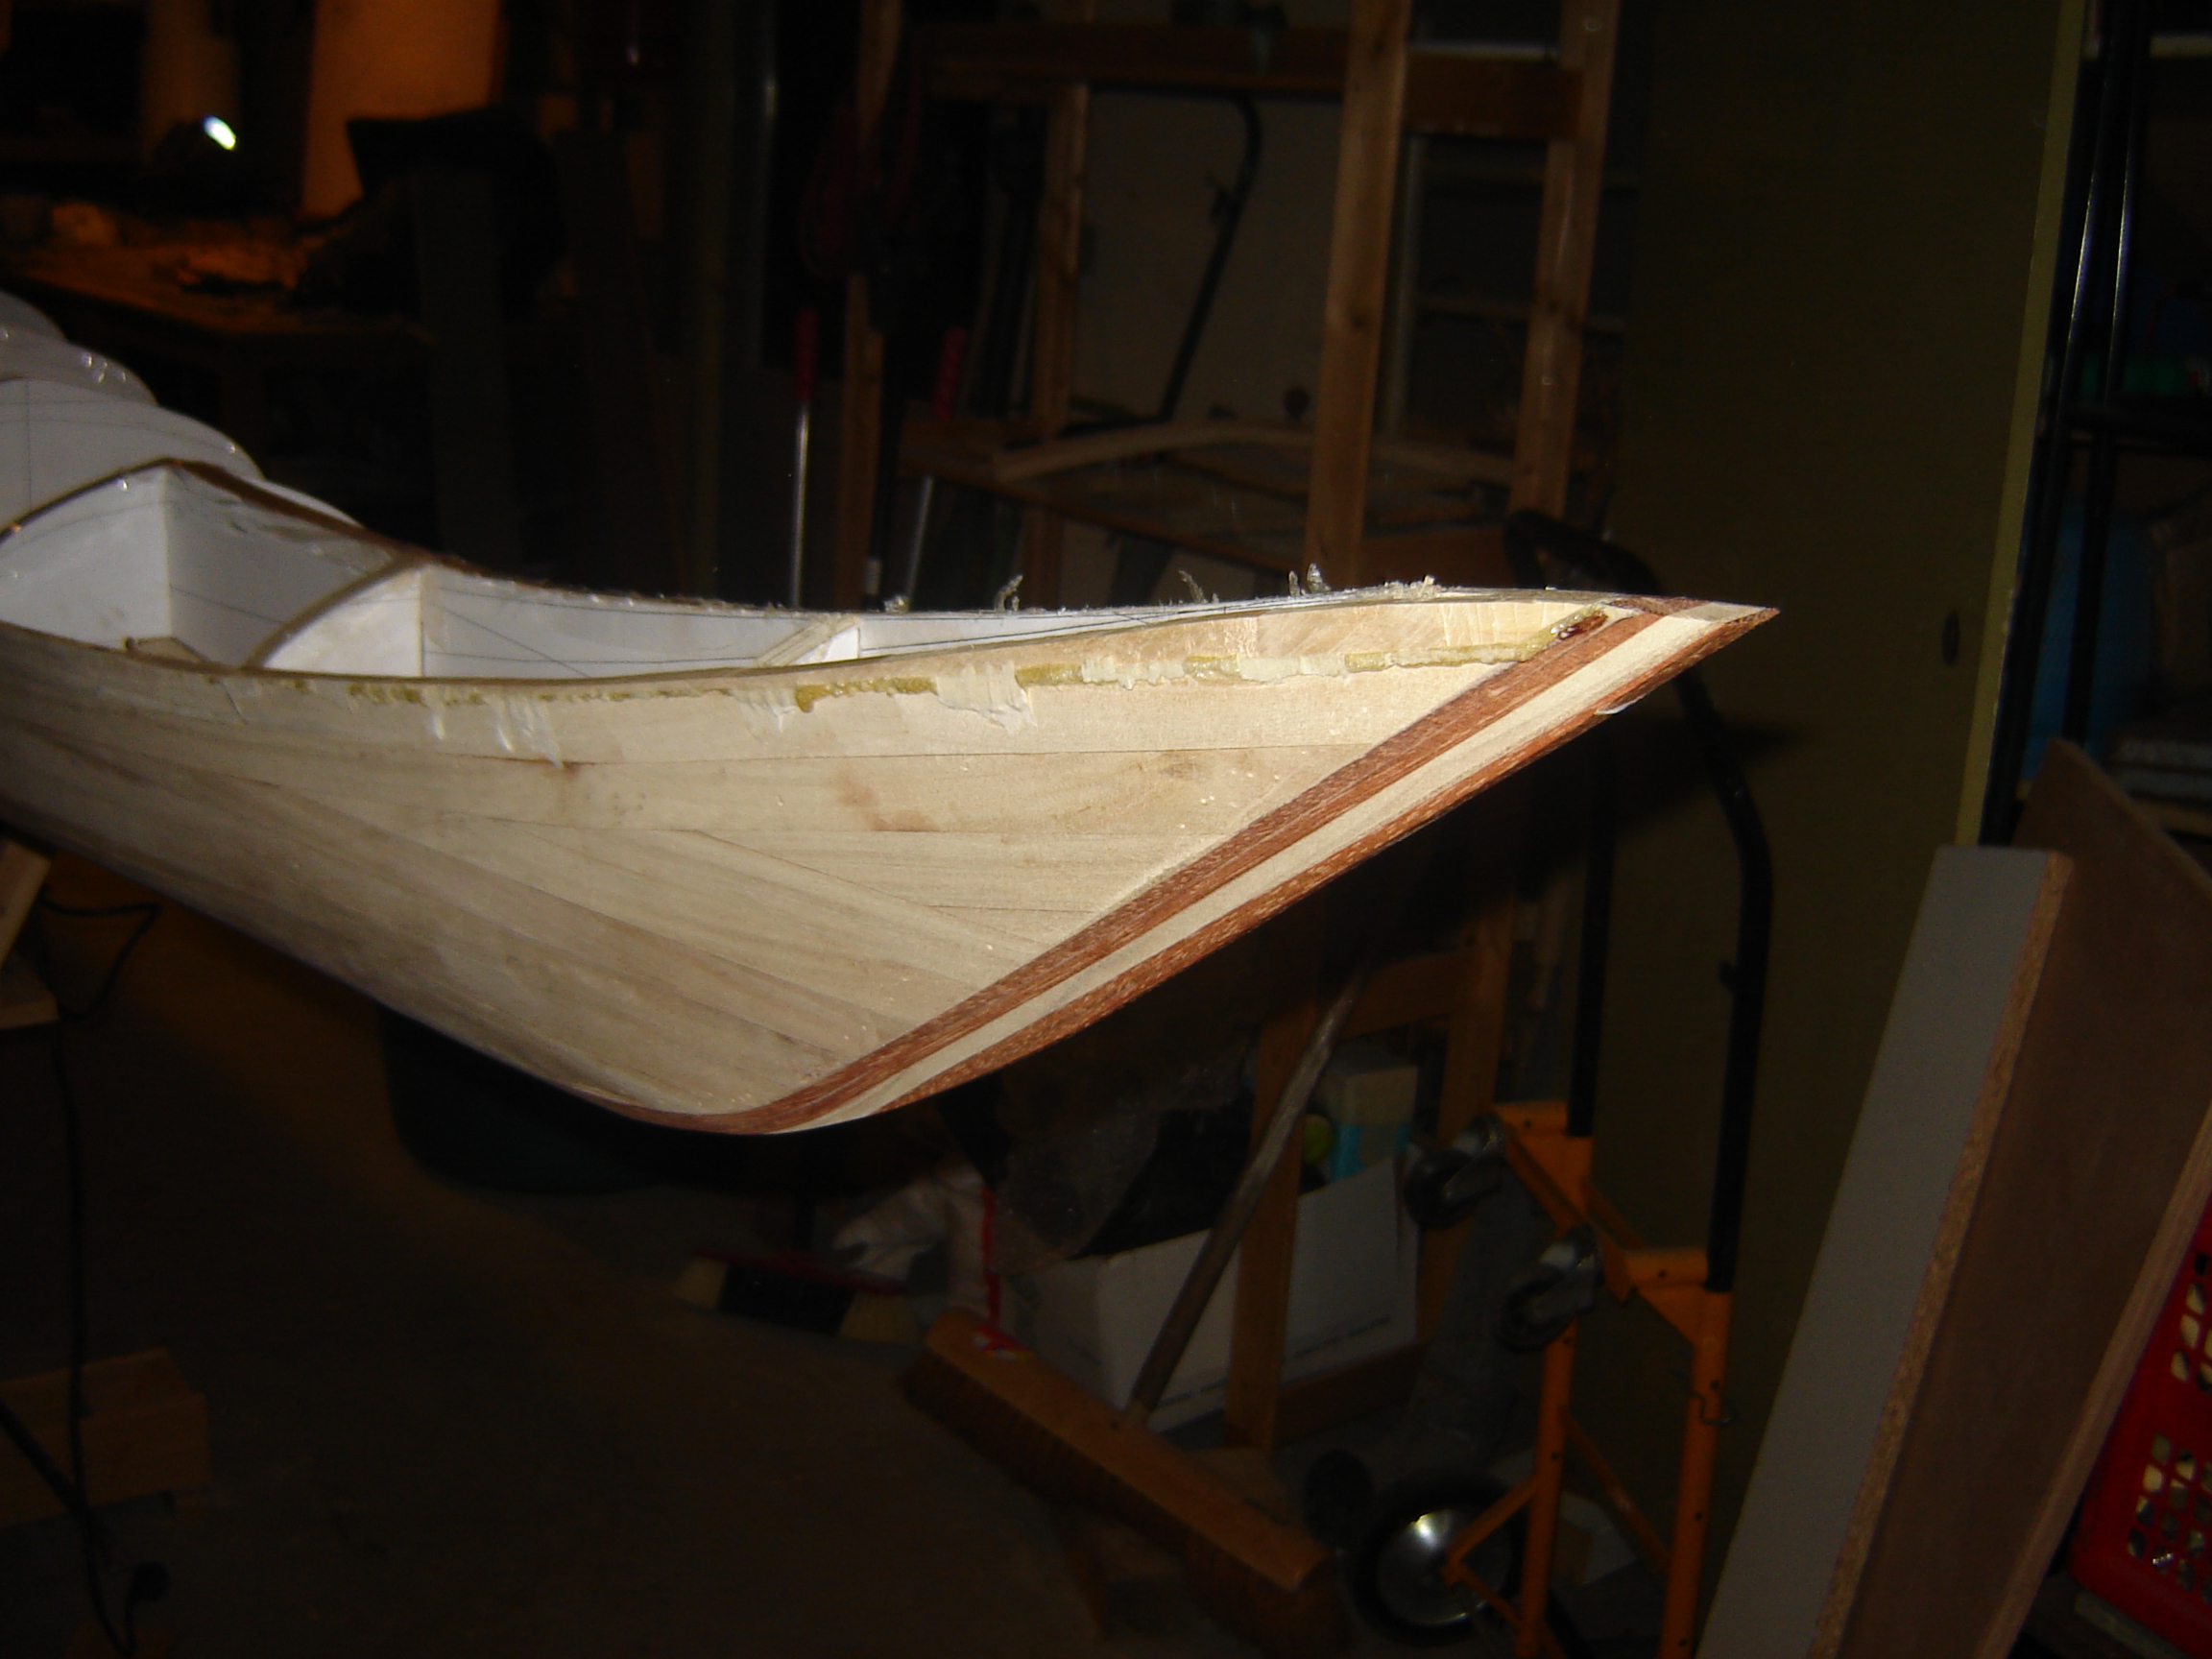
I started at the stern. After fairing the stern with the spokeshave I glued a thin strip on the stern which I formed with the heat gun. I made the stem out of five layers. Four layers of 3 mm teak with one layer of poplar in between all formed with the heat gun. I did not trust myself in gluing all the layers in one step. I did it in three steps. The glue was a polyurethane glue, the fast setting type so I could do it in one evening. After hardening I formed it with the spokeshave and the ROS.
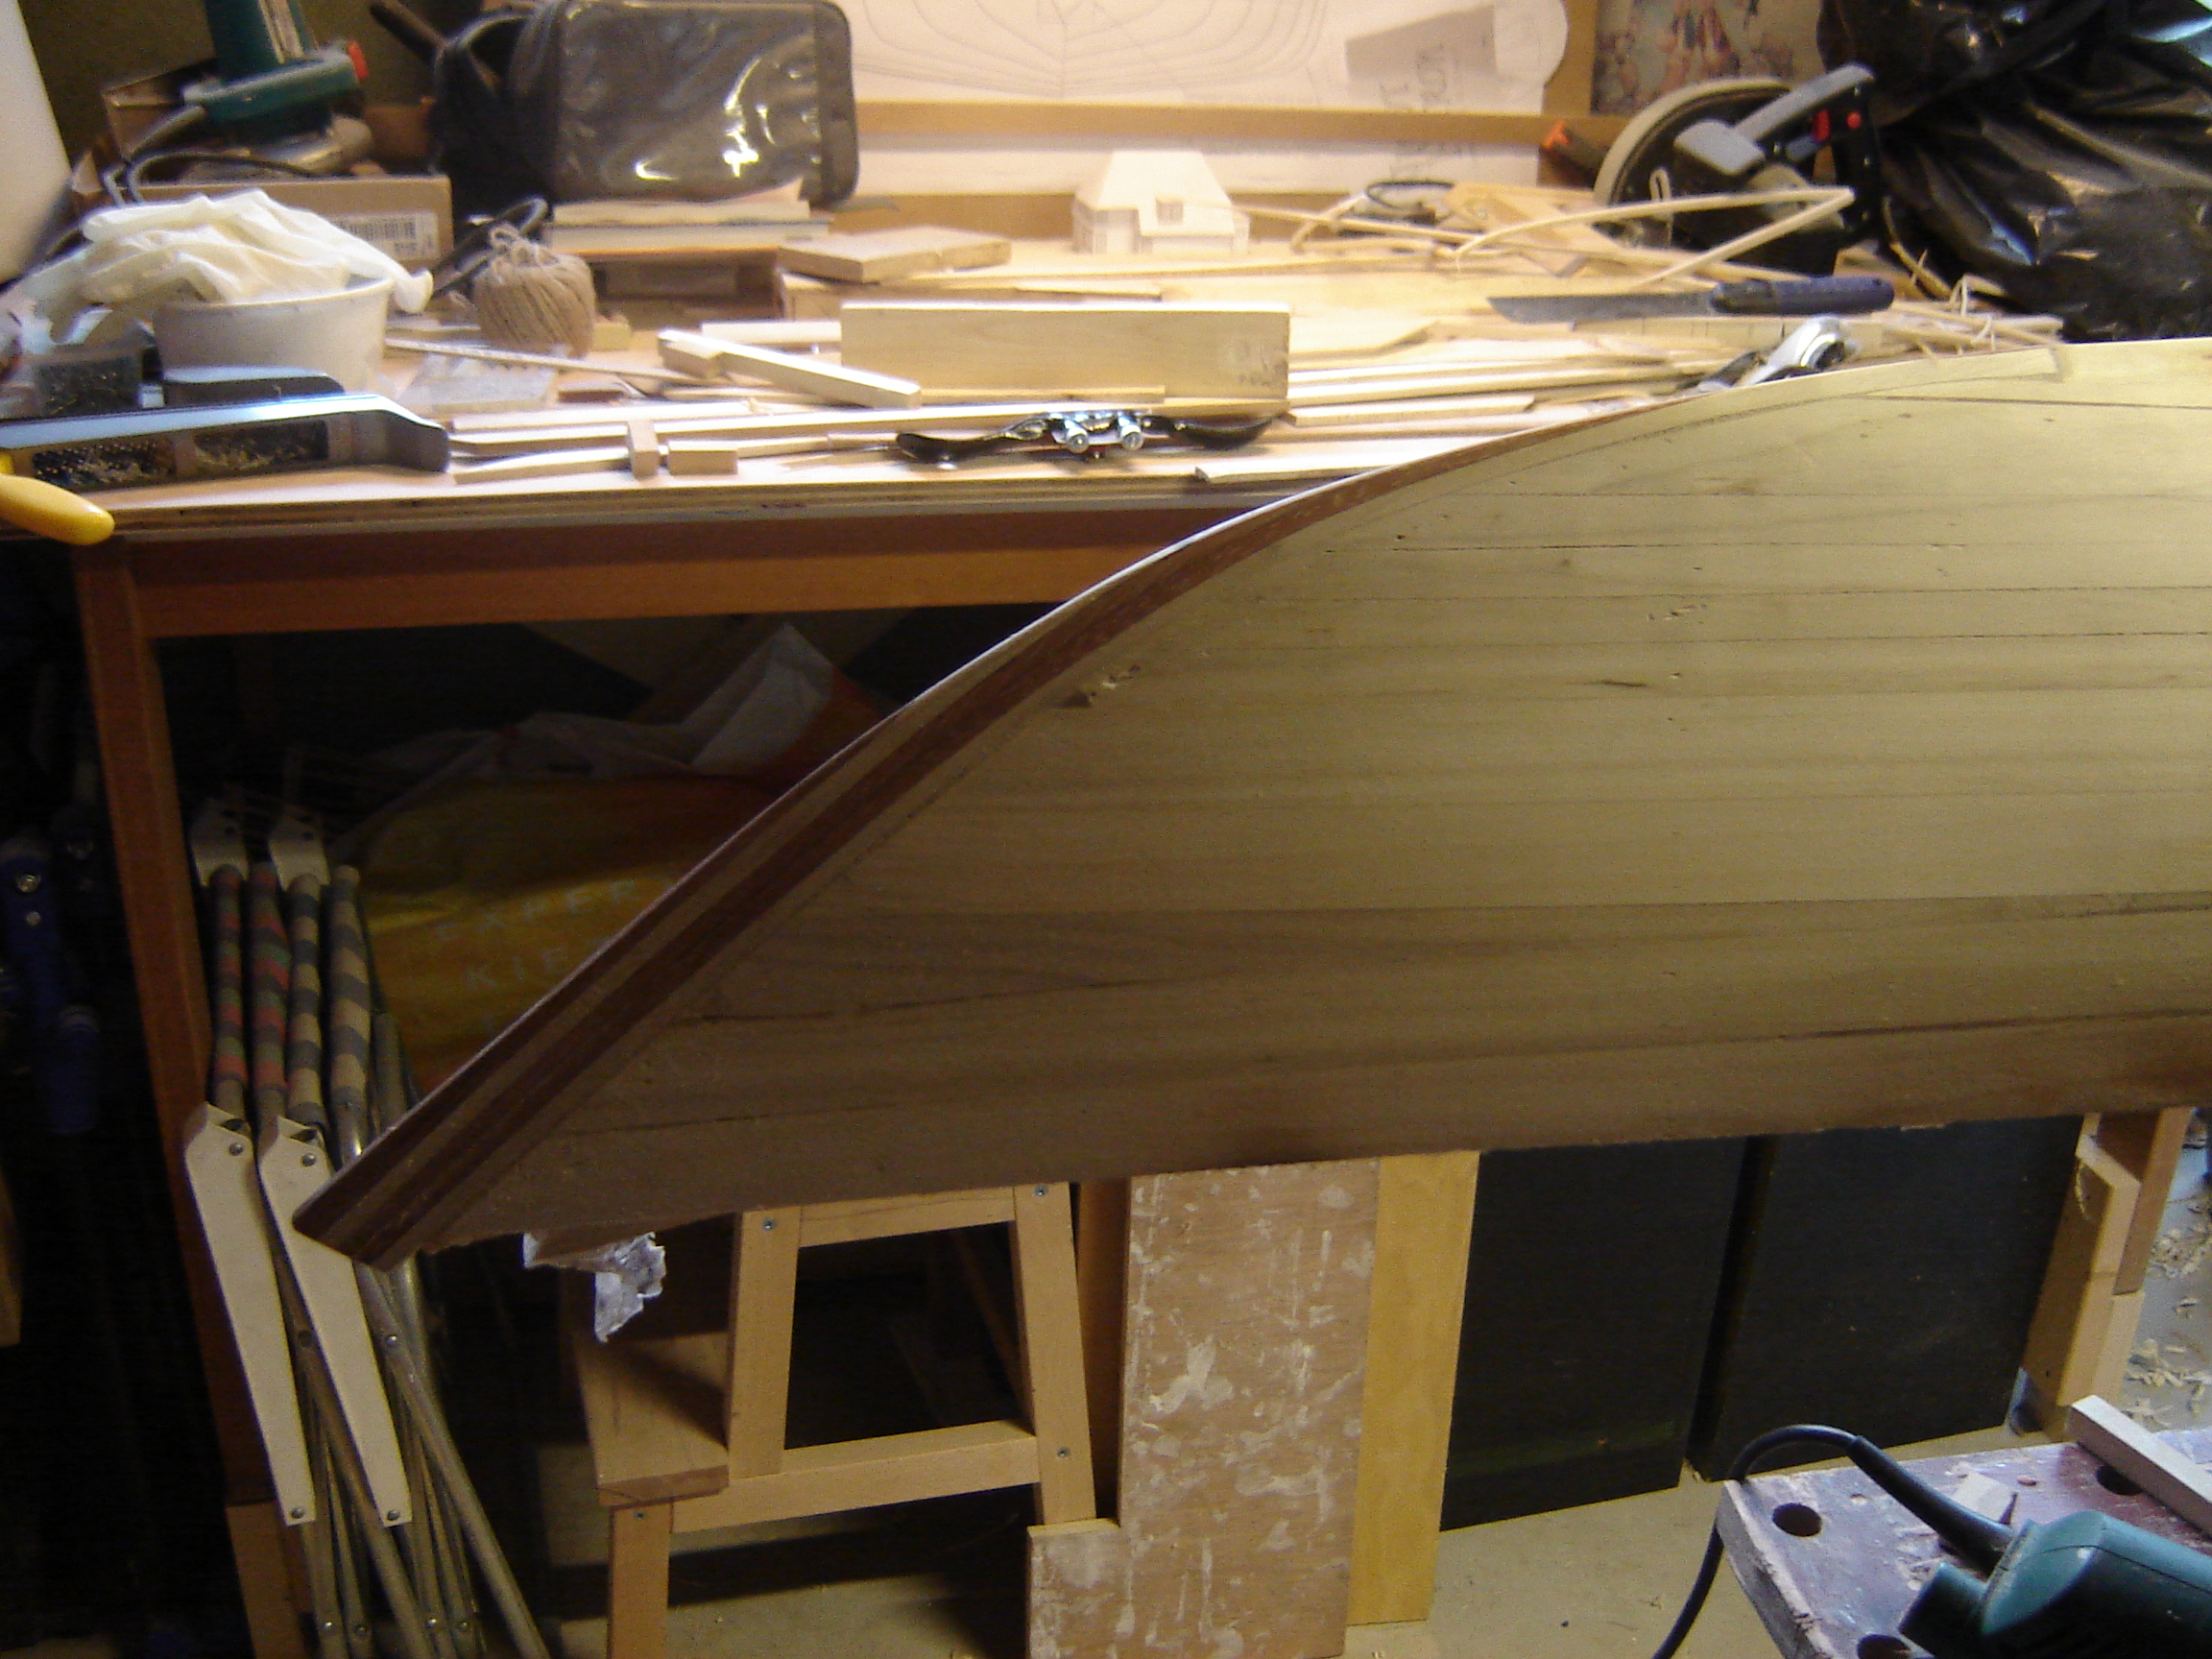
As usual I made mistakes. The first layer of my stem was poplar. At the start of the stem in the keel, there is nothing left of the hard teak. So next time I will start with the hardwood layers. The second mistake was not reading the book KayakCraft by Ted More. He describes perfectly how to handle. I did not make a slot to connect the inner and the outer stem, but it looks alright. The mistake that will give the most work is that I sawed it to short at the end.
At the bow I did better but as you can see it bends down at the end. To much material removed. I will sort that out later.
During planking the hull I made a lot of mistakes. The decision not to bevel was wrong. The gaps are to big. I filled them with epoxy filler. Also the difference in thickness of the strips gave trouble and next time I have to pay a lot more attention to the lining of the adjacent strips.
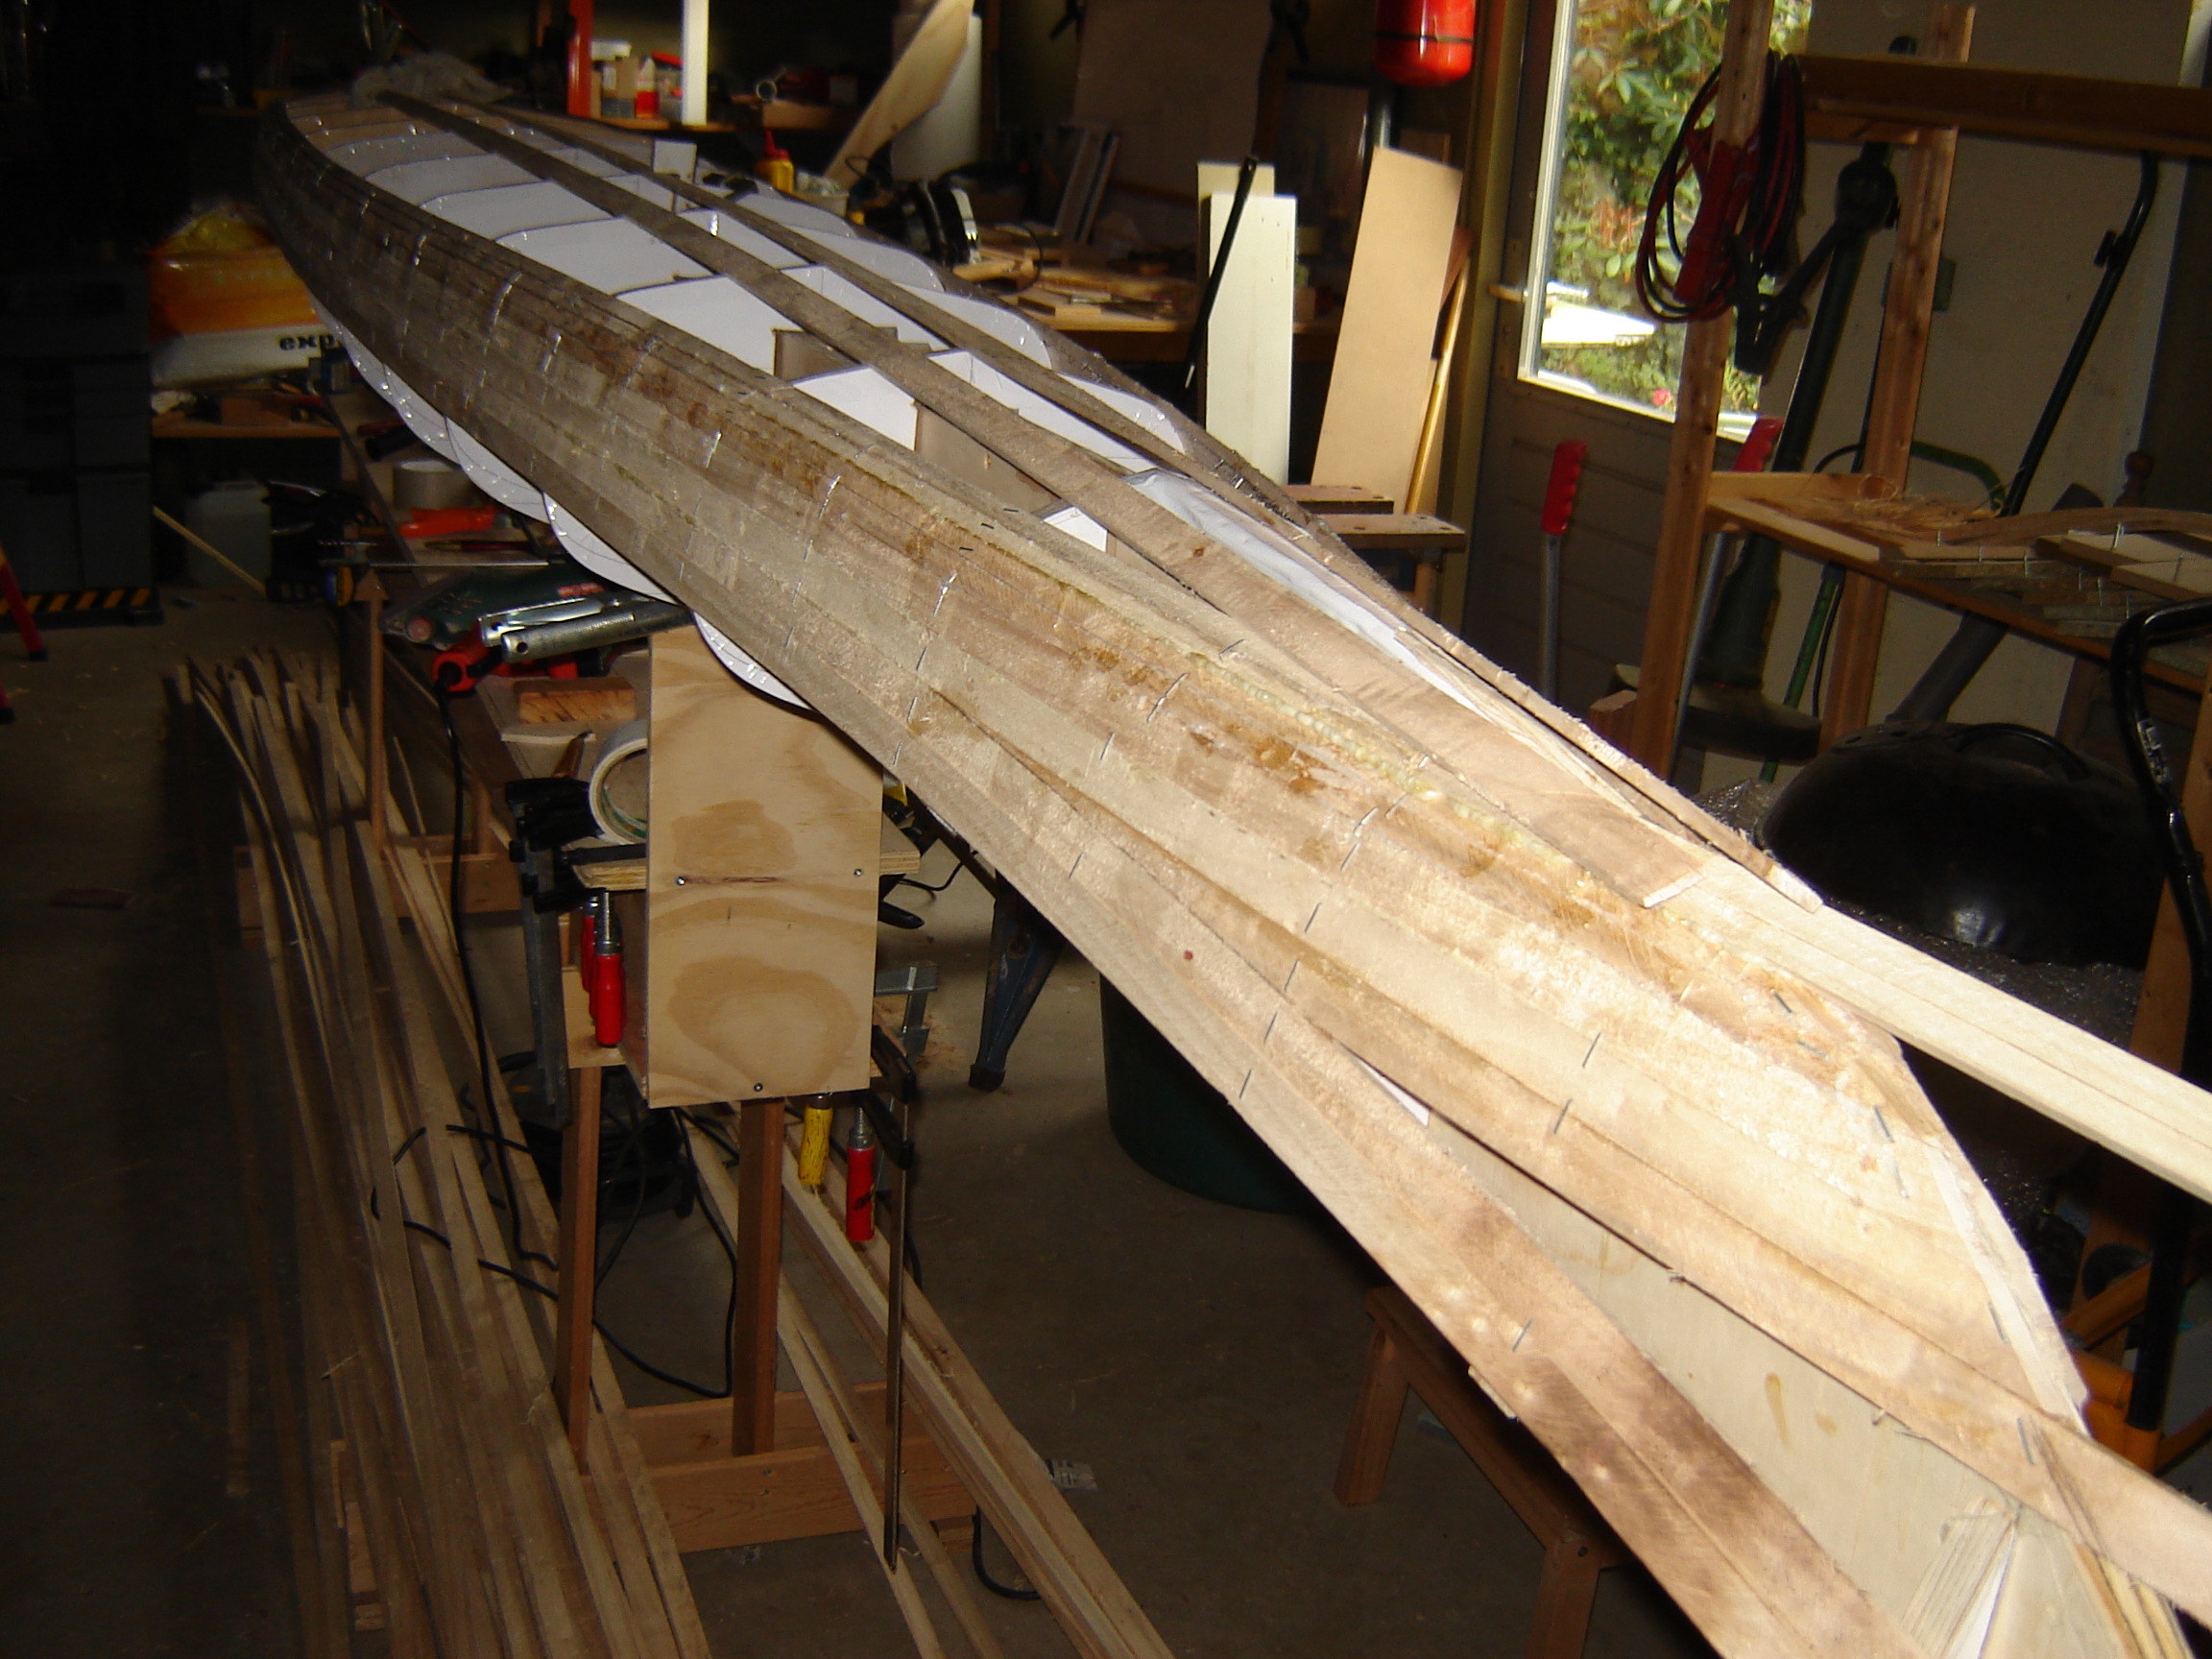
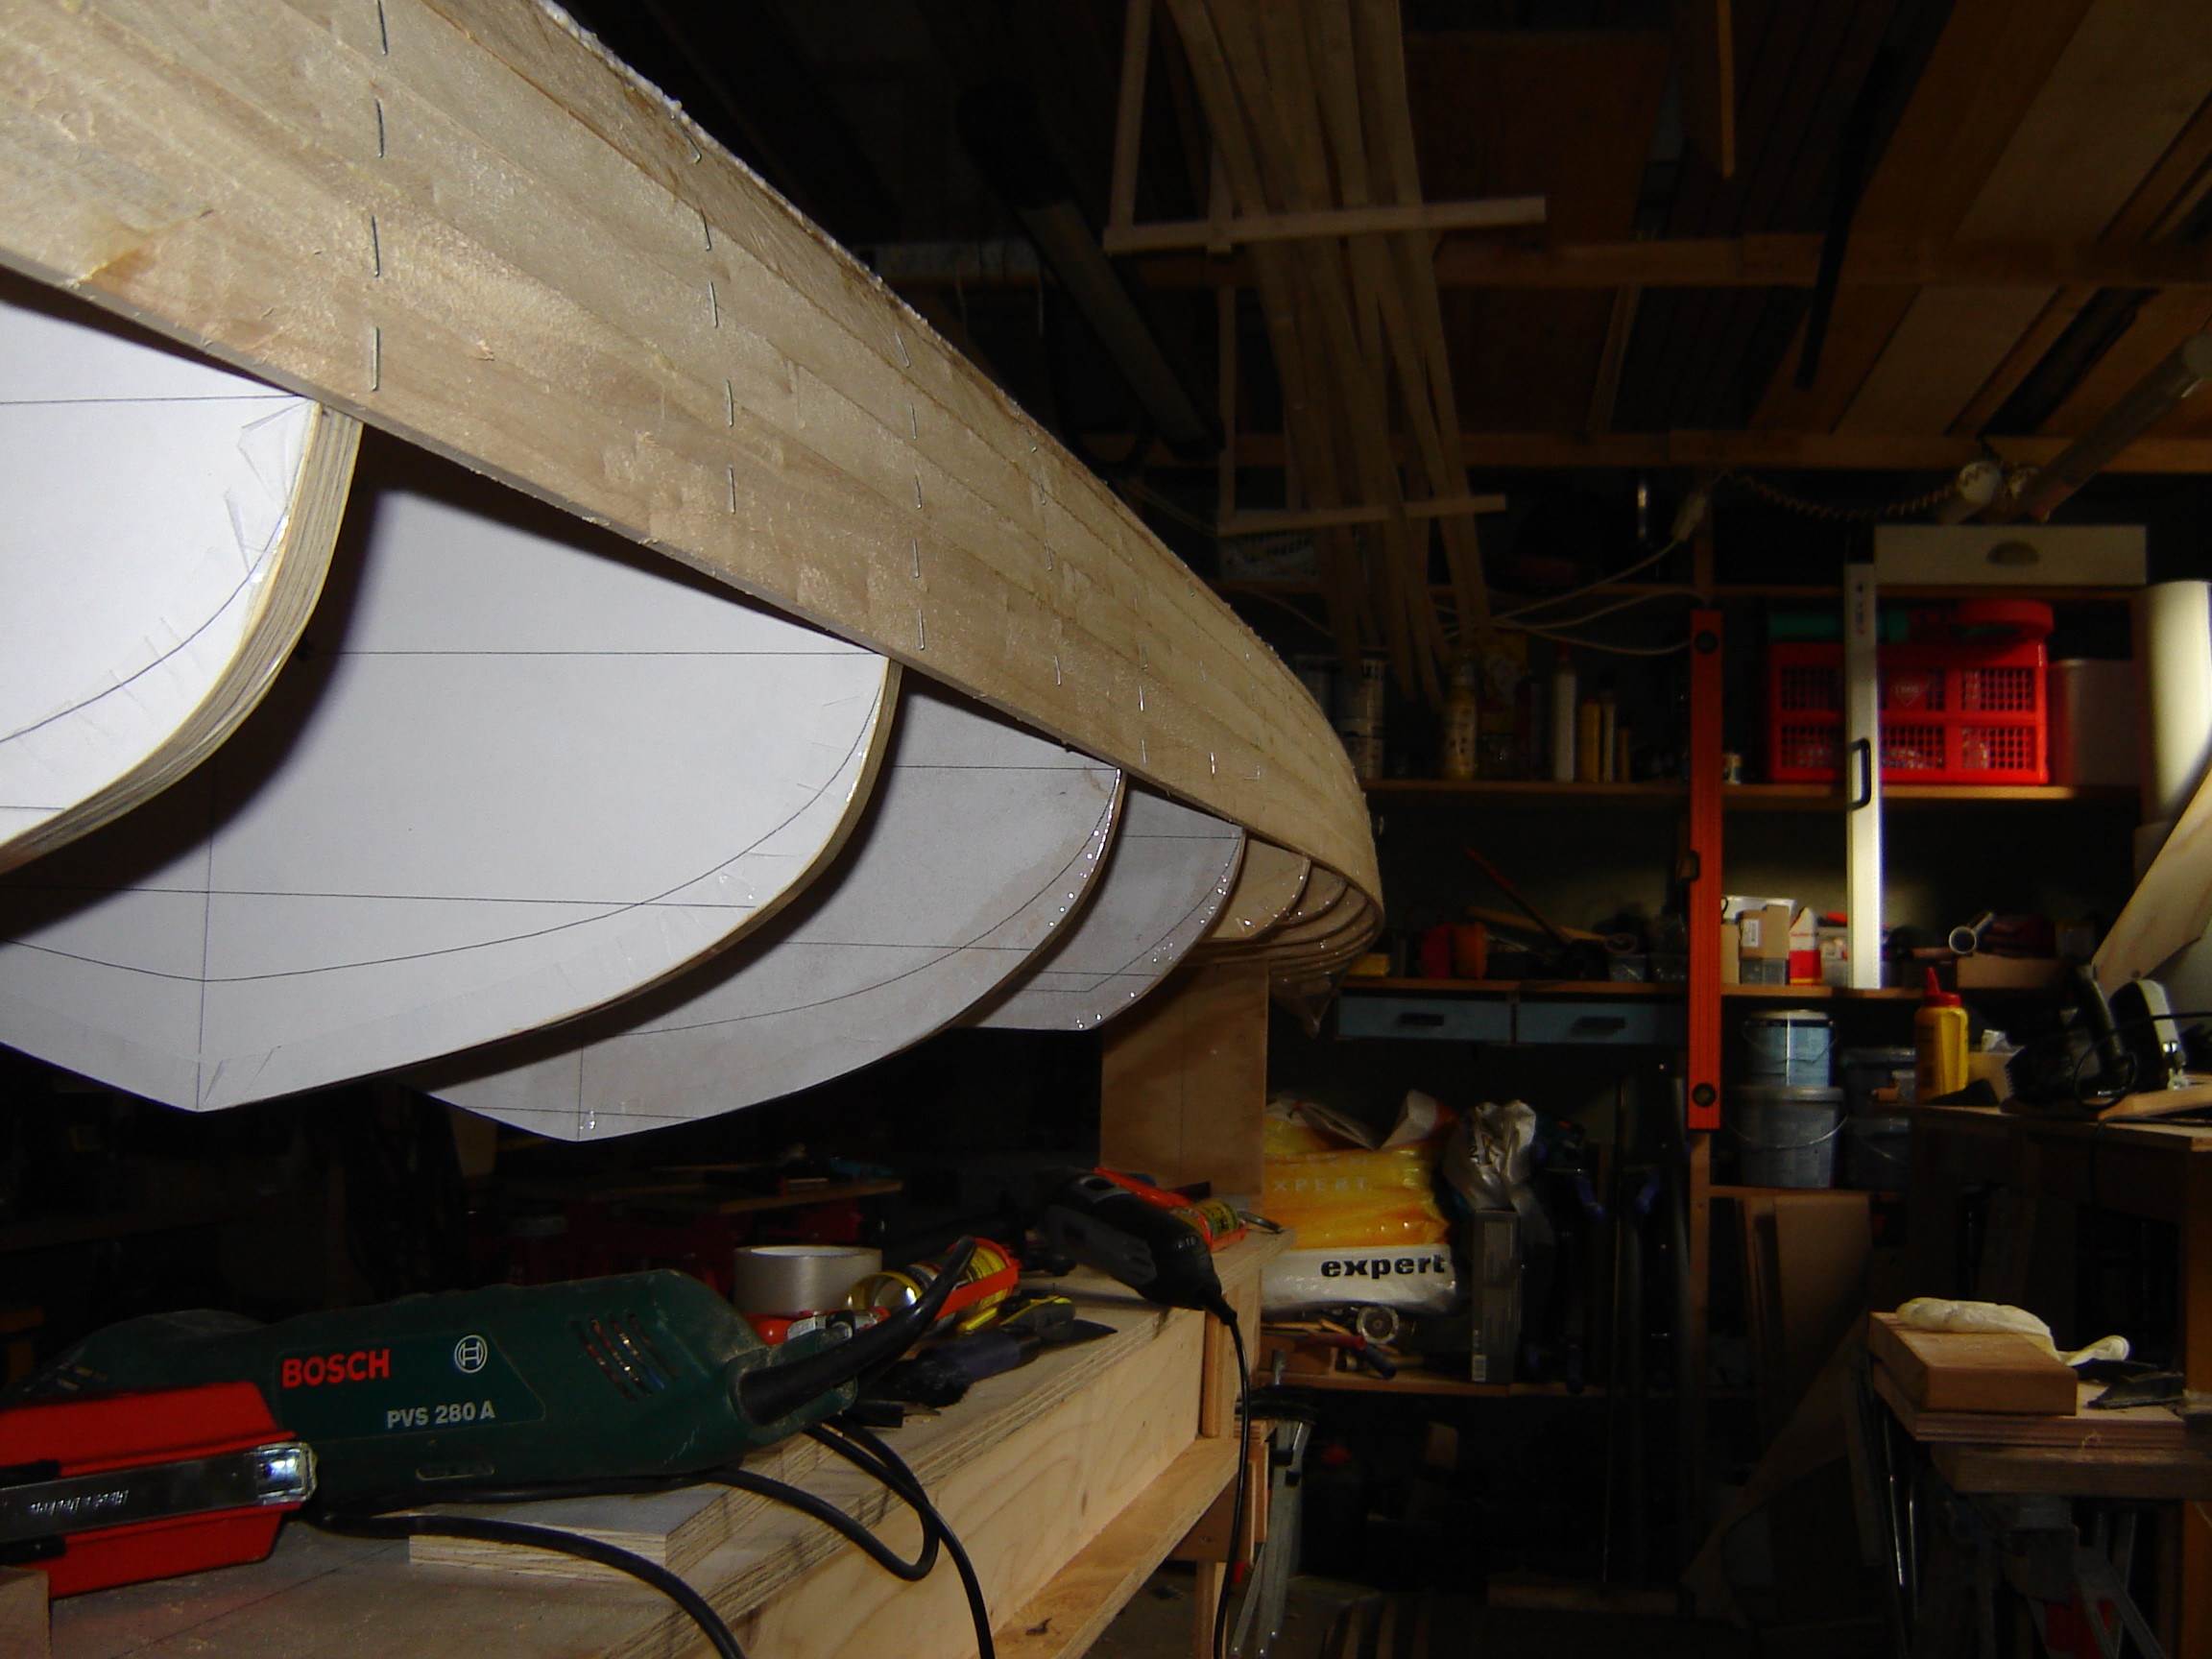
I used a ROS with 60 grid sandpaper just as Rob Macks told in “I’ll whack the Hornet’s nest”. It worked very well. Shaving did not work with the very coarse grain of the poplar. To much tear out. Three evenings of 1.5 hours fairing made a nice hull. But I understand why people like shaving more then working with the ROS. It is a noisy and dusty business. Photo’s are shown beneath.
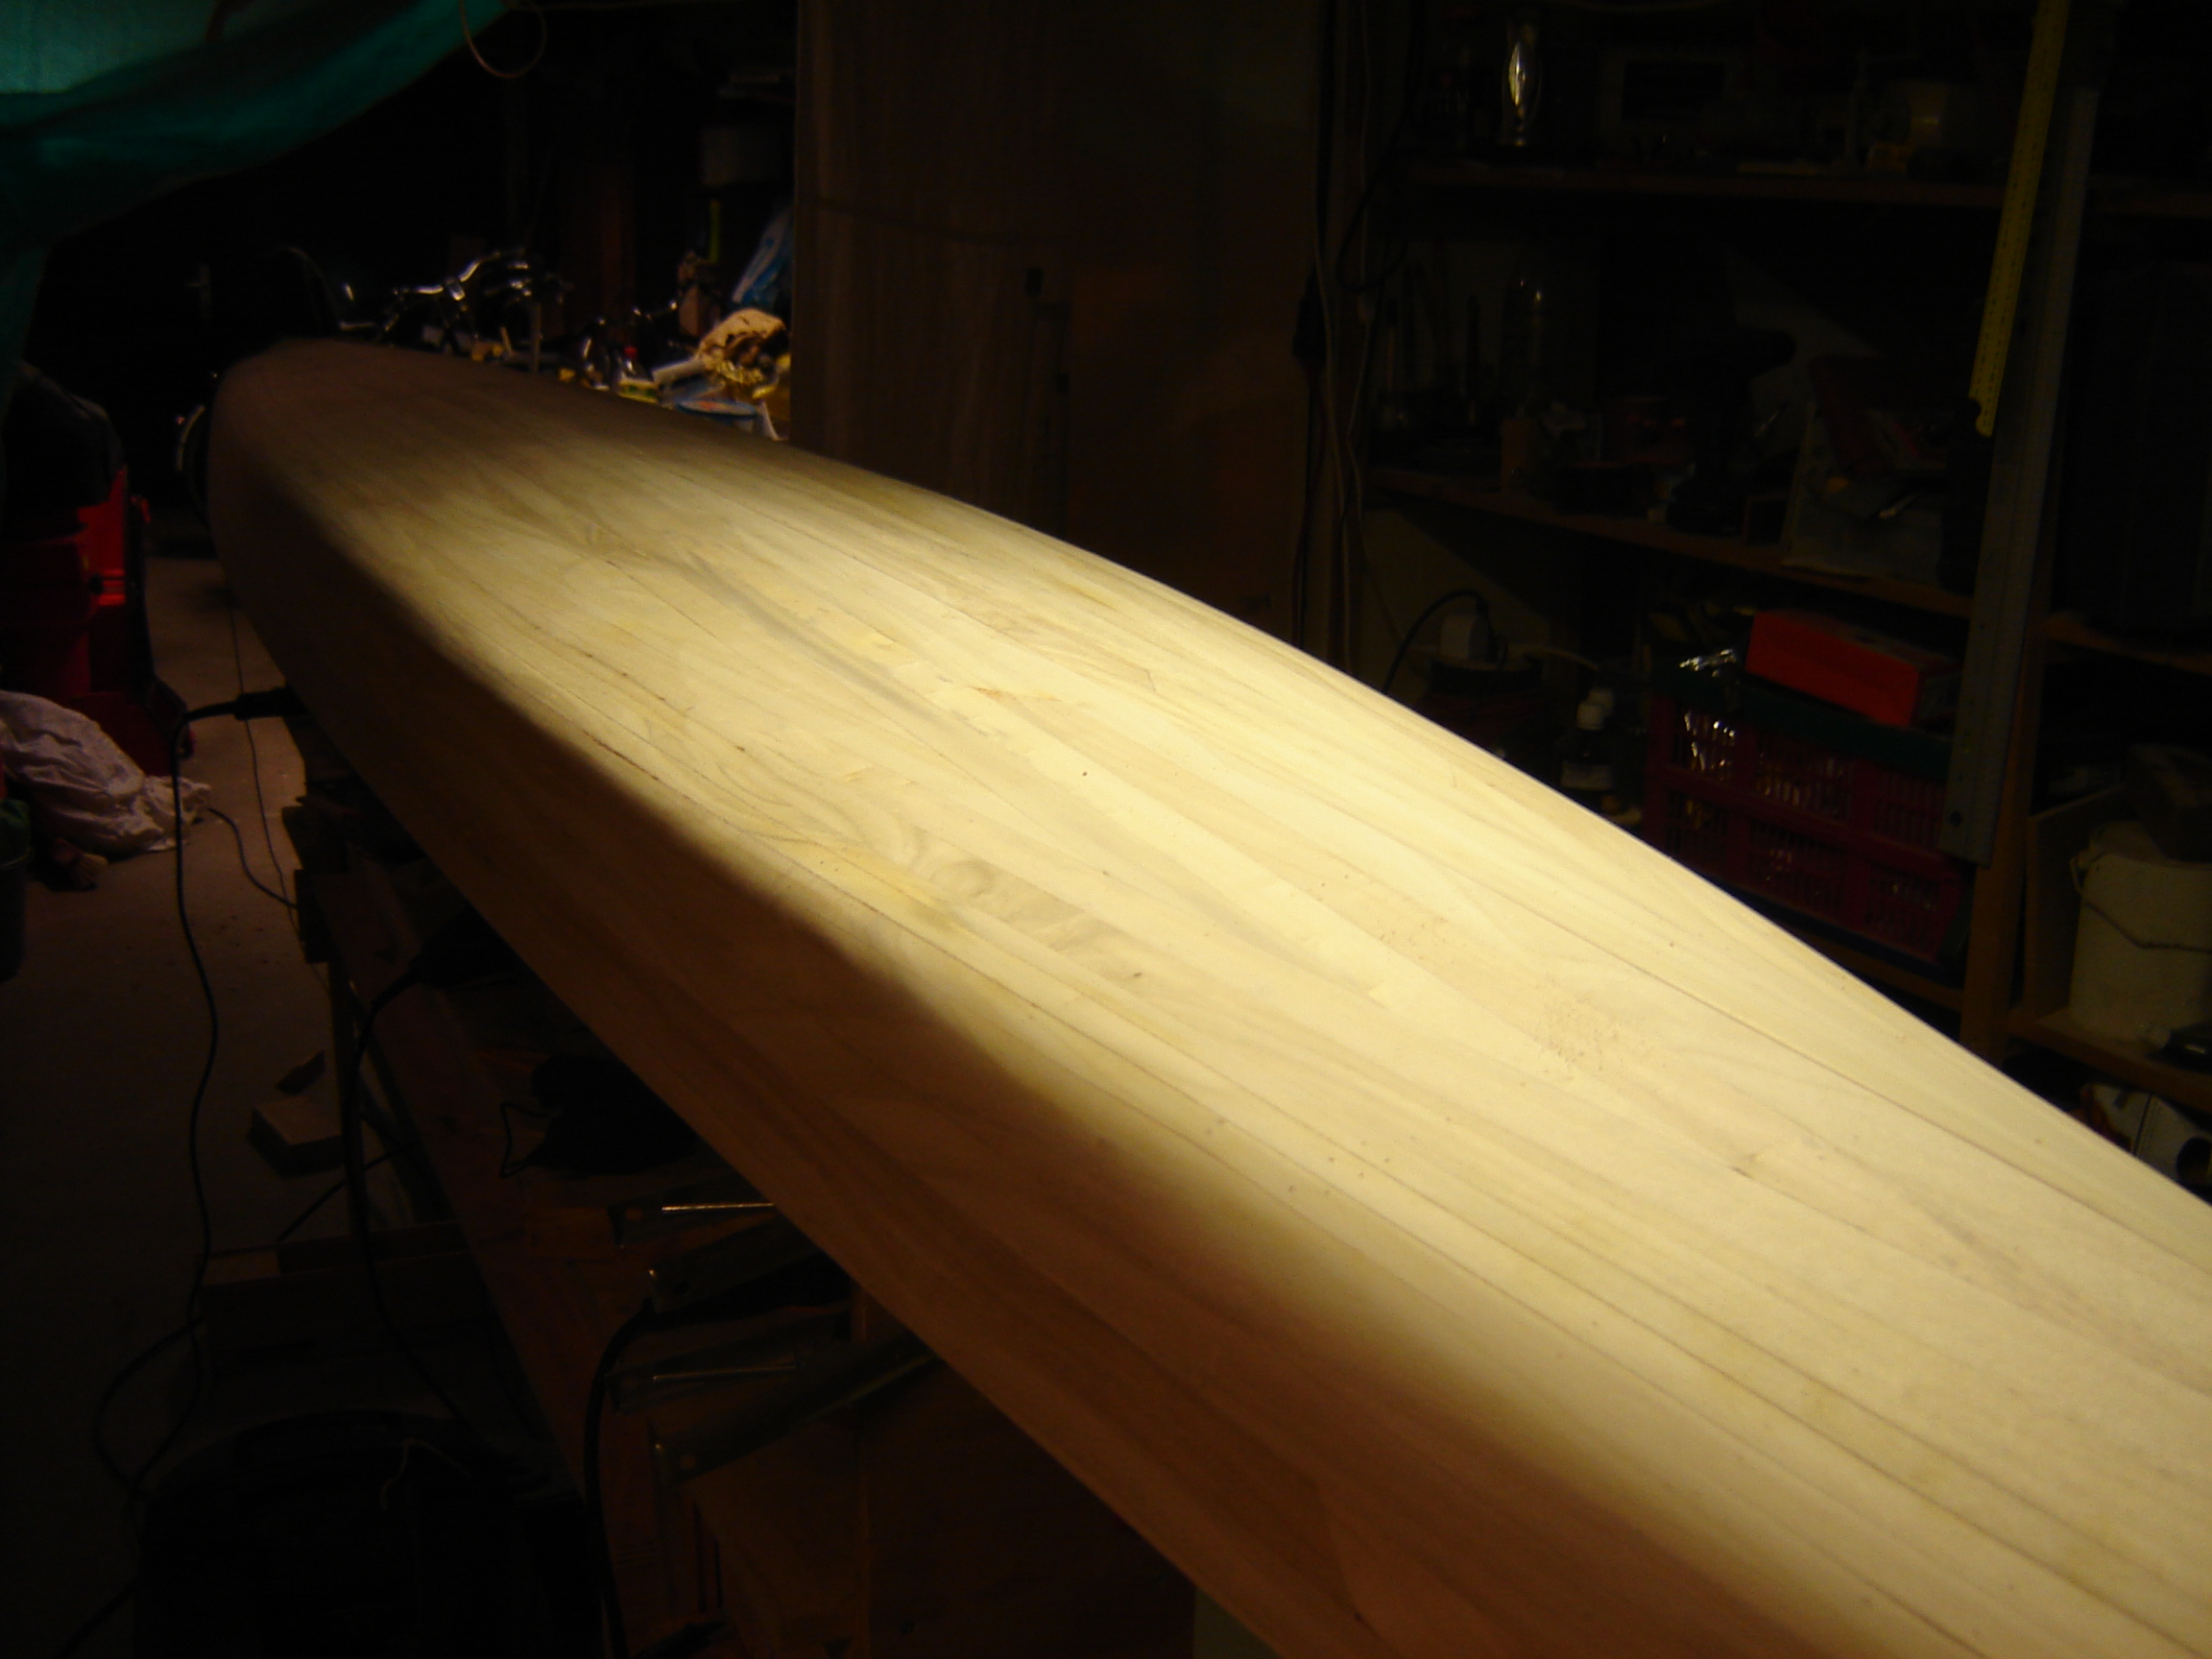
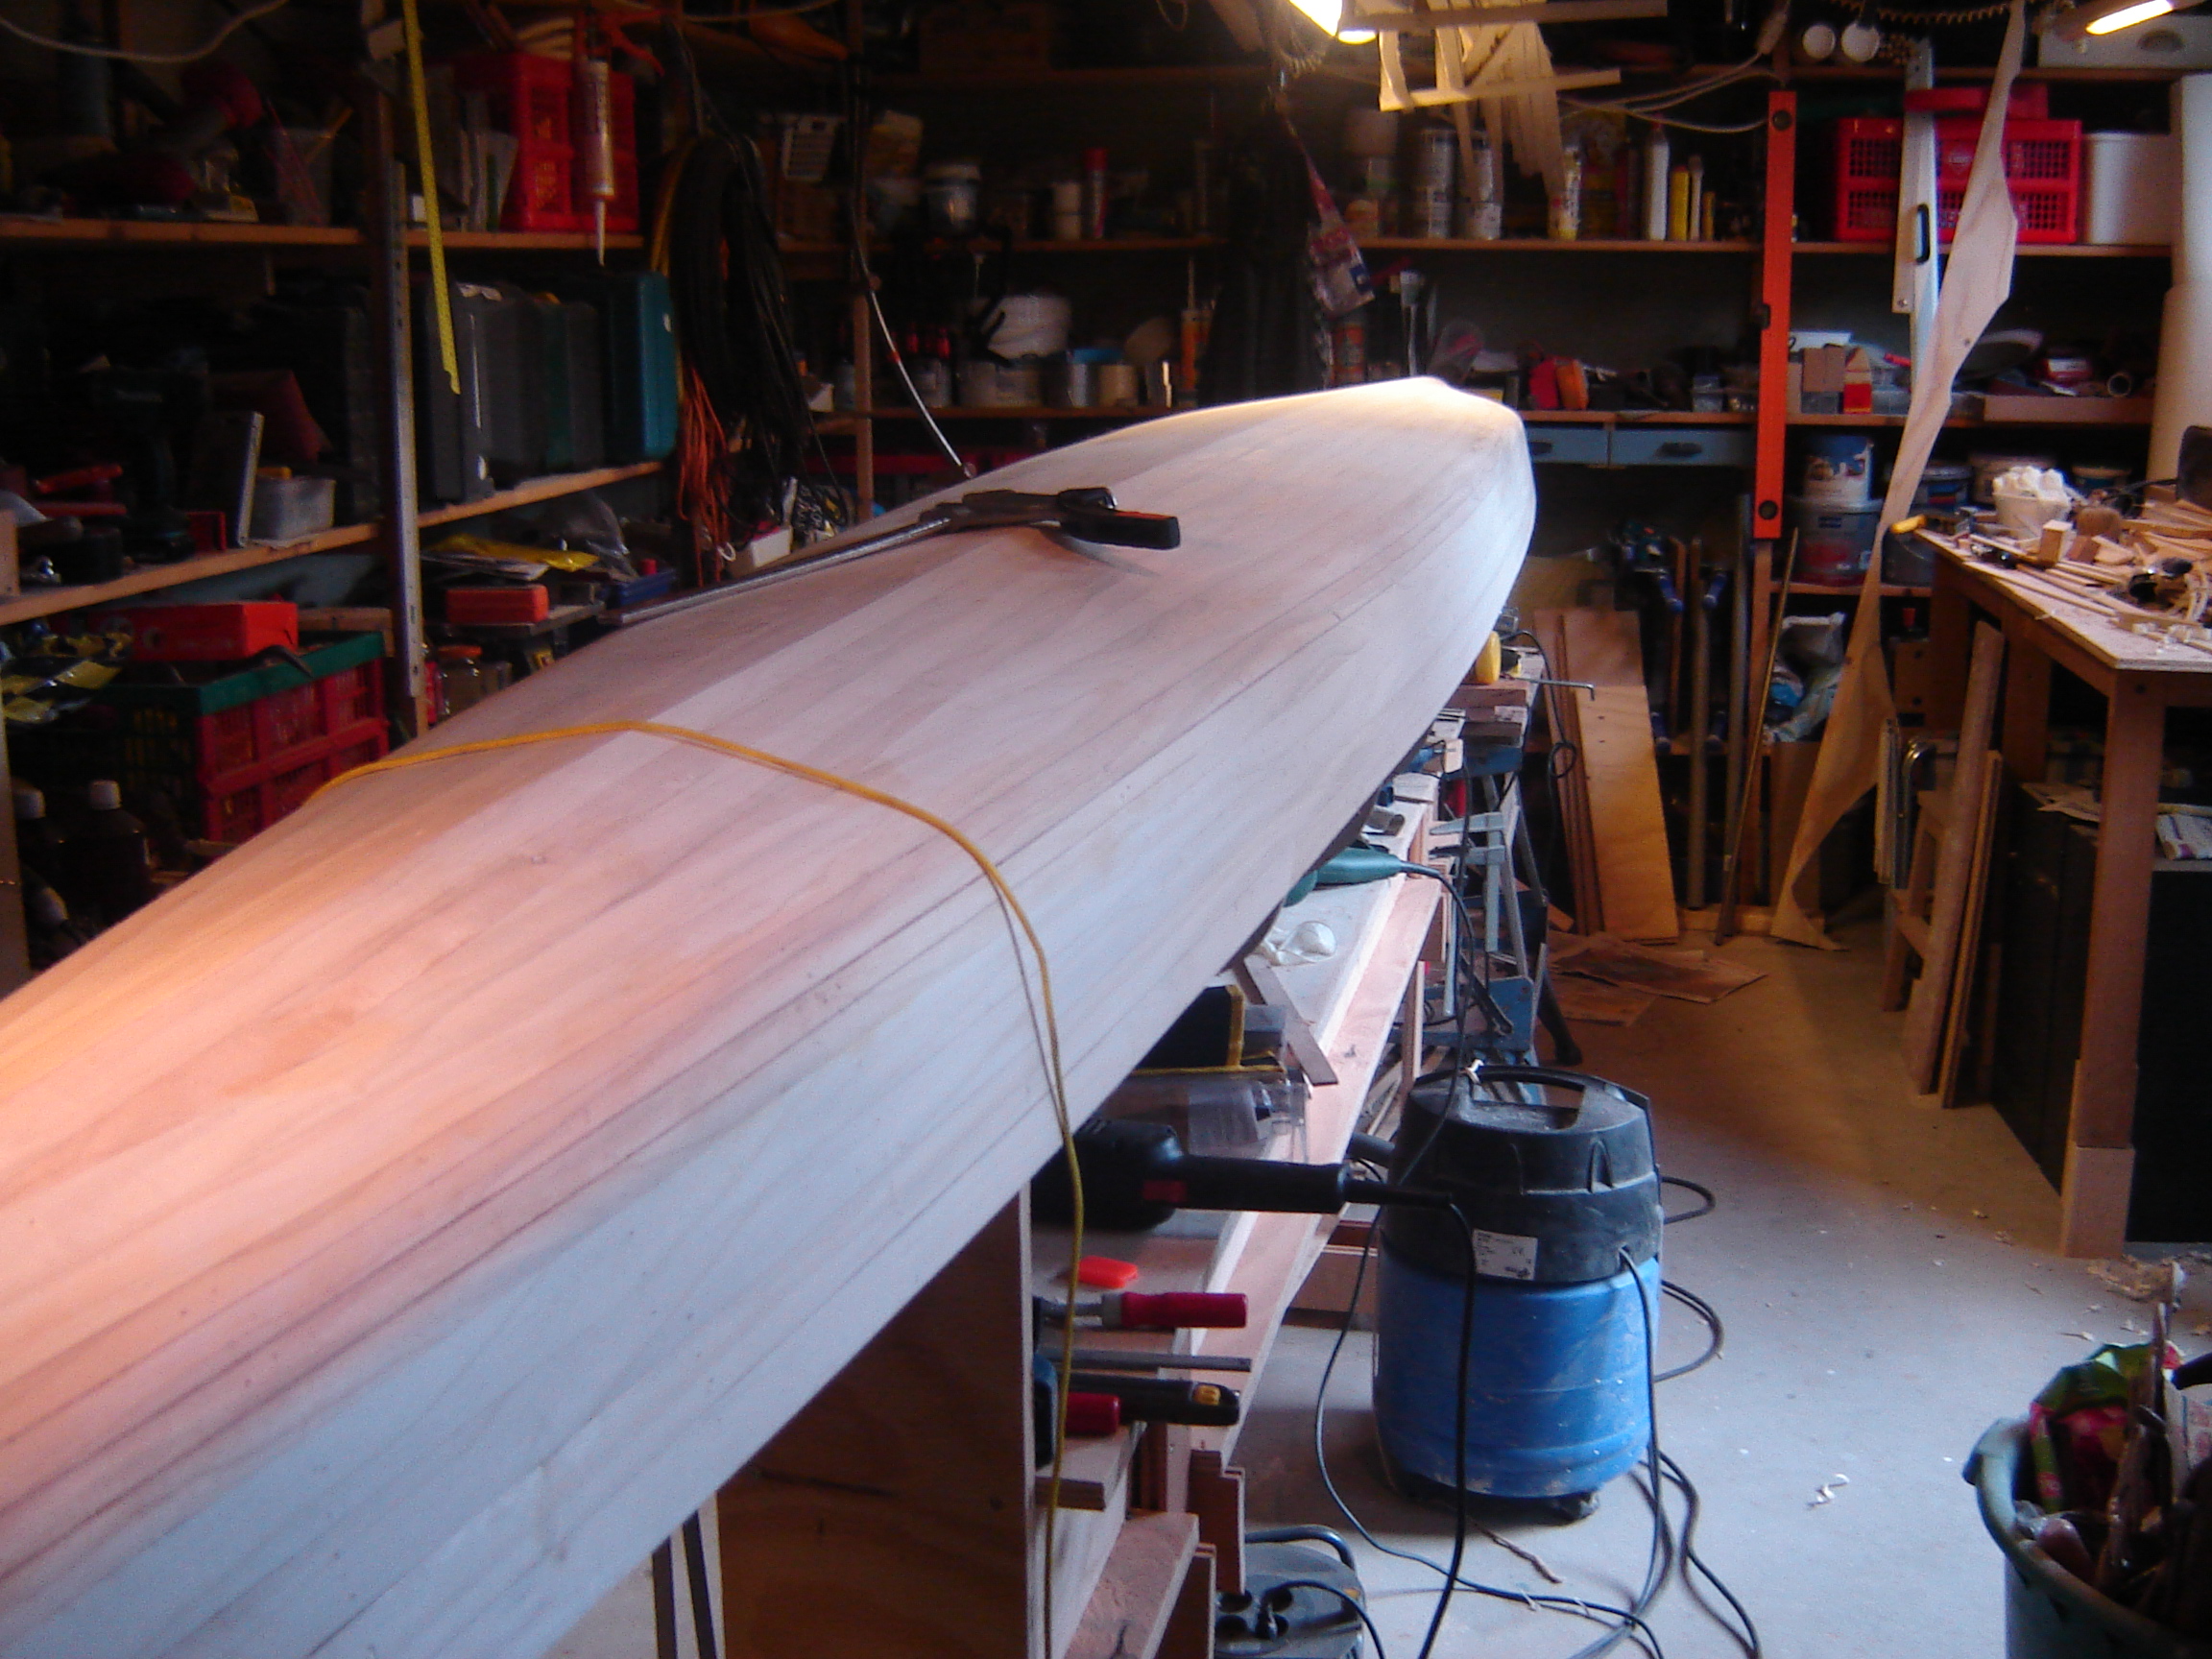

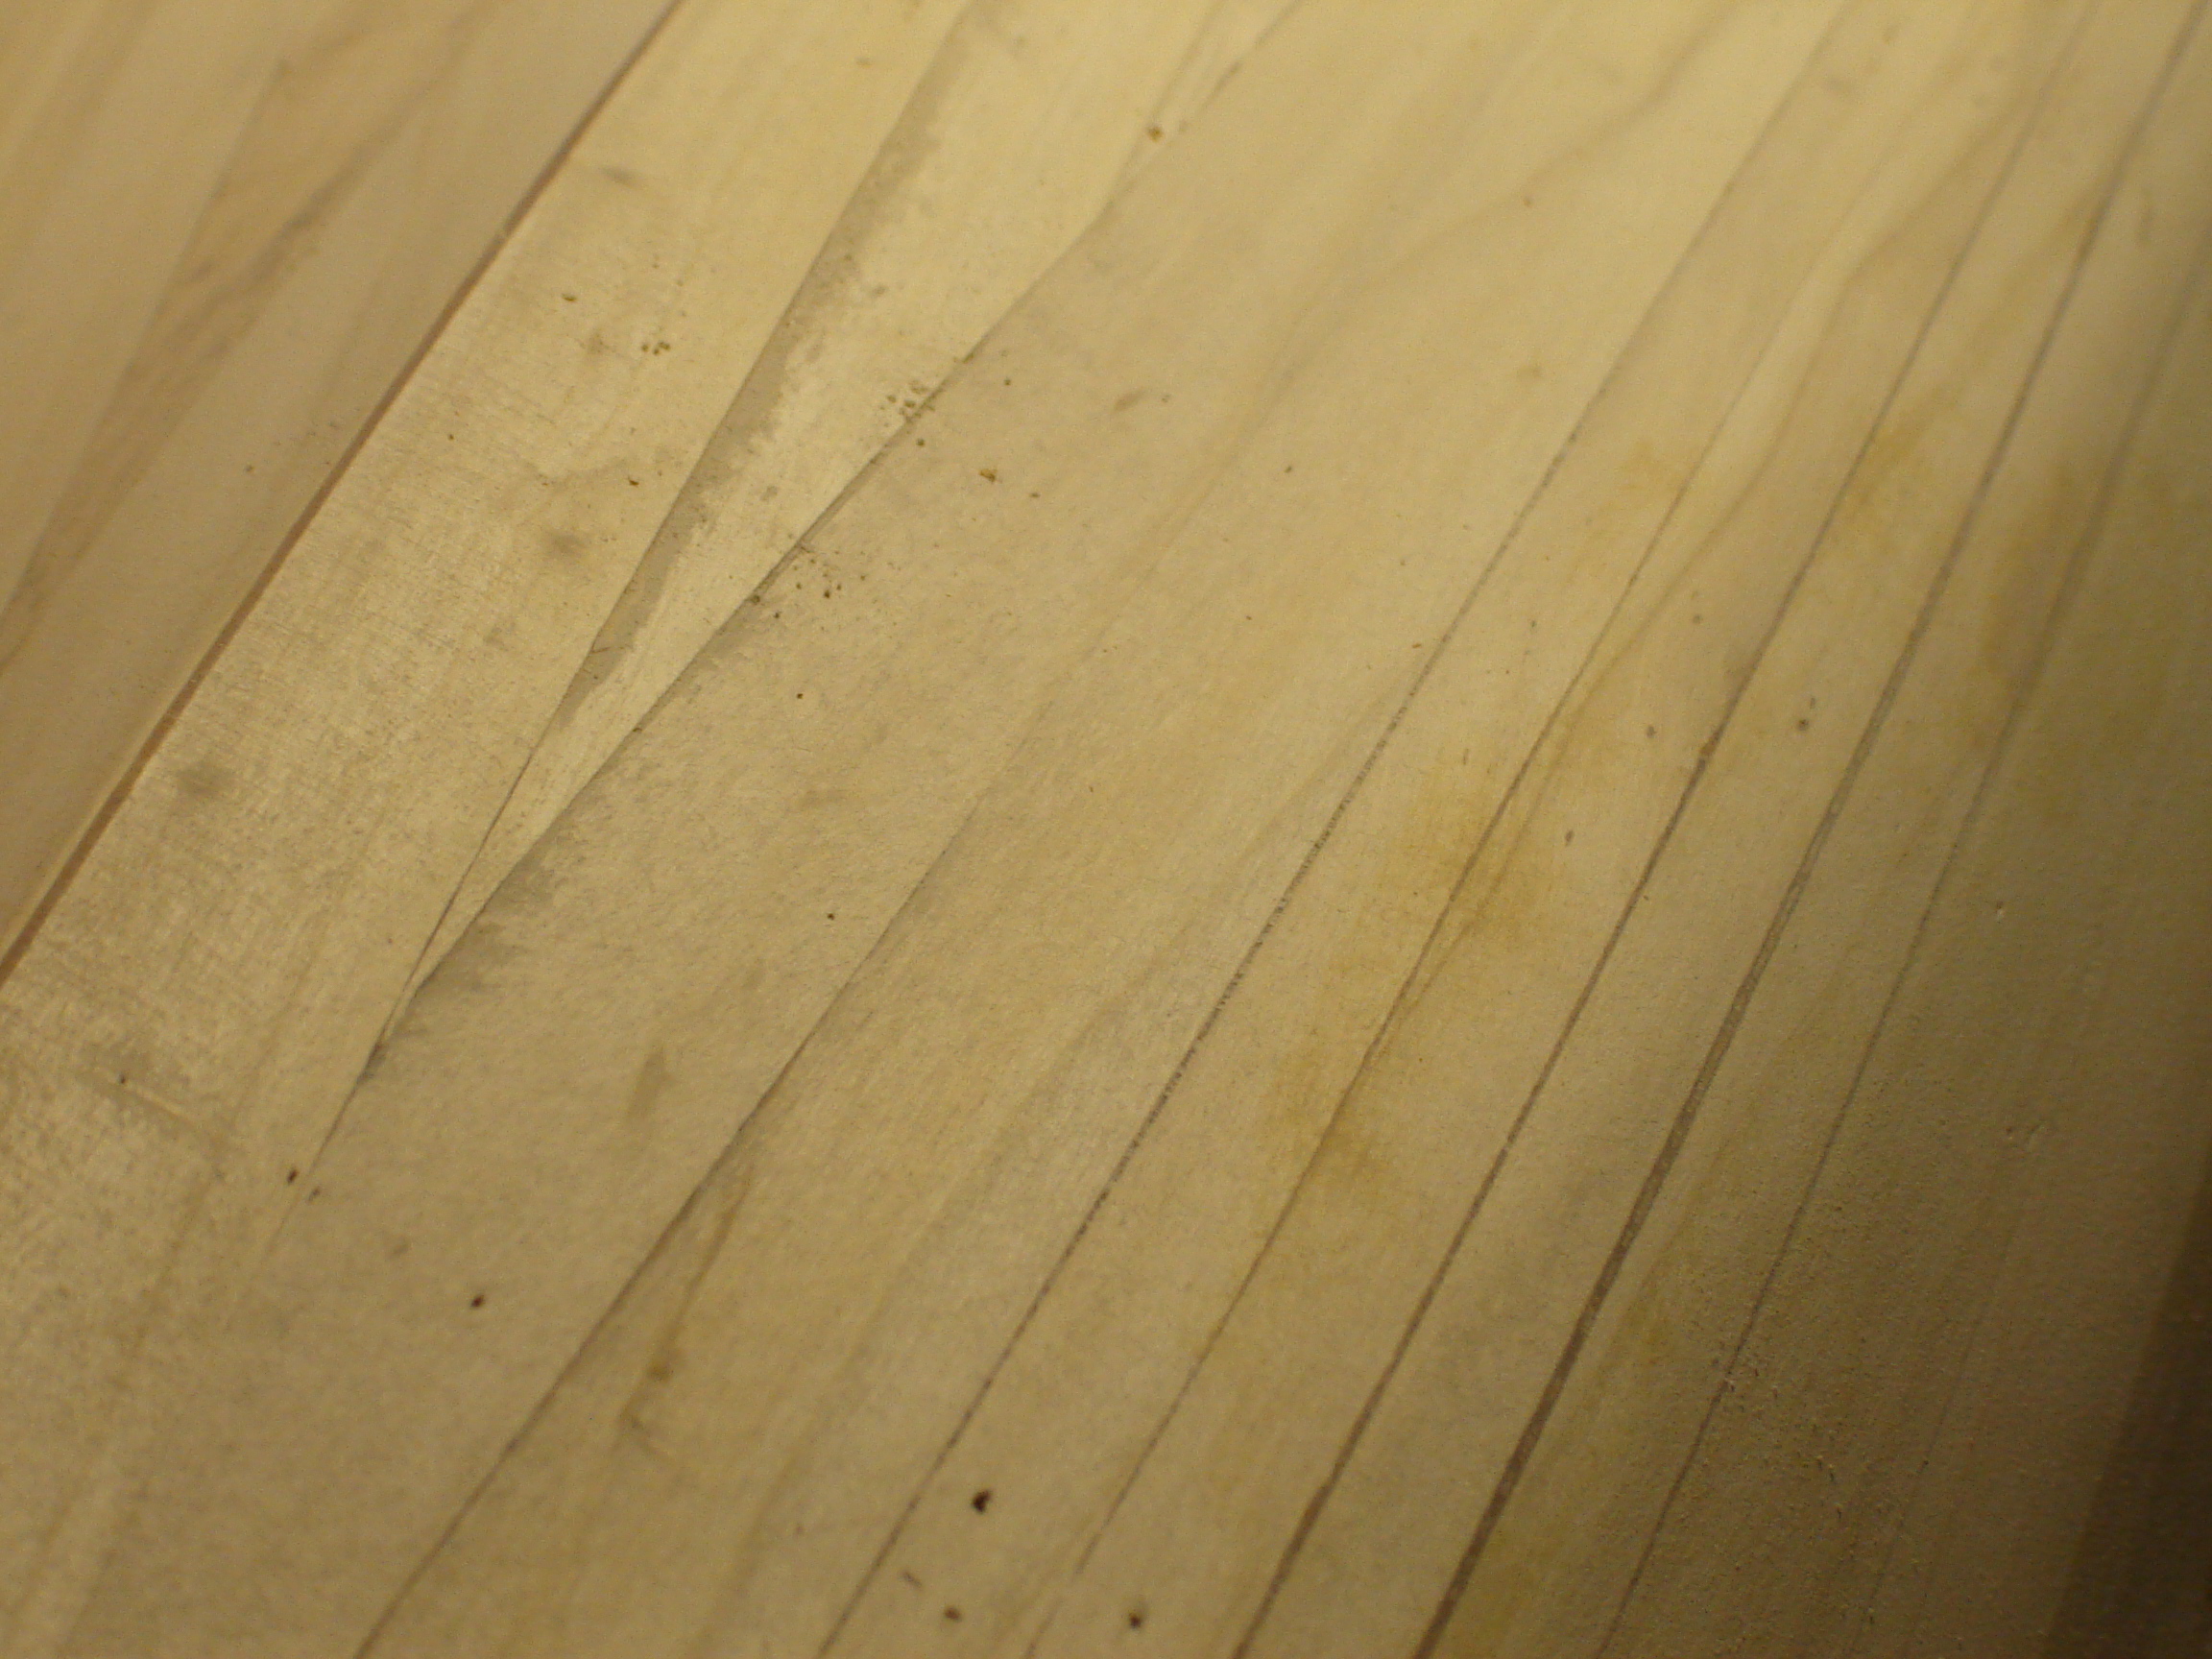
Blanc poplar hull after fairing with the Ross. Spot in last picture needs more work.
Next job is making the external stems.
I found it difficult to find the exact shear line on the forms. So I tried to find the line with a strip. I did not have straight strips. The poplar boards where straight but the wood had a lot of tension because of different growing speed. After ripping the strips wobbled. Afterwards I think that the best remedy had been to scarf the straight parts together into one long strip. But I used the strips as they where. I made the shear line symmetrical on both sides.
For the stem and the bow I needed the heat gun to get the strips in place. I found it difficult to spread the heat evenly over the strip. Maybe all things will come right later. I did follow the shear line with 2 strips. The rest of the strips followed the chine more at the ends so I need cheater strips but that is not a problem.
I found it difficult to make the right bevel. So I decided to staple the strips with no bevel at all and later fill the gaps with thickned epoxy. I tried to use no glue at all but had so much difficulties with lining the strips between the forms that I decided to use a gap filling glue. It is the PU-glue which is used in wood construction. This one gives transparant glue lines. The problem is that epoxy does not hold very well on PU. So I have to use a primer to tackle that problem after wetting out the wood.
At the chine I did split my strips (22 mm wide) into 10.5 mm wide strips. I used a Japanese razor saw (not a genuine Japanese saw but a European copy sold by Aldi for 12 euro’s, handle with two blades) and a kind of miter box for splitting. The saw line is not totally straight but I put the devided strips next to each other so that it fits. Afterwards I did see that the line wobbles. Maybe that will disappear when I have sanded the hull.
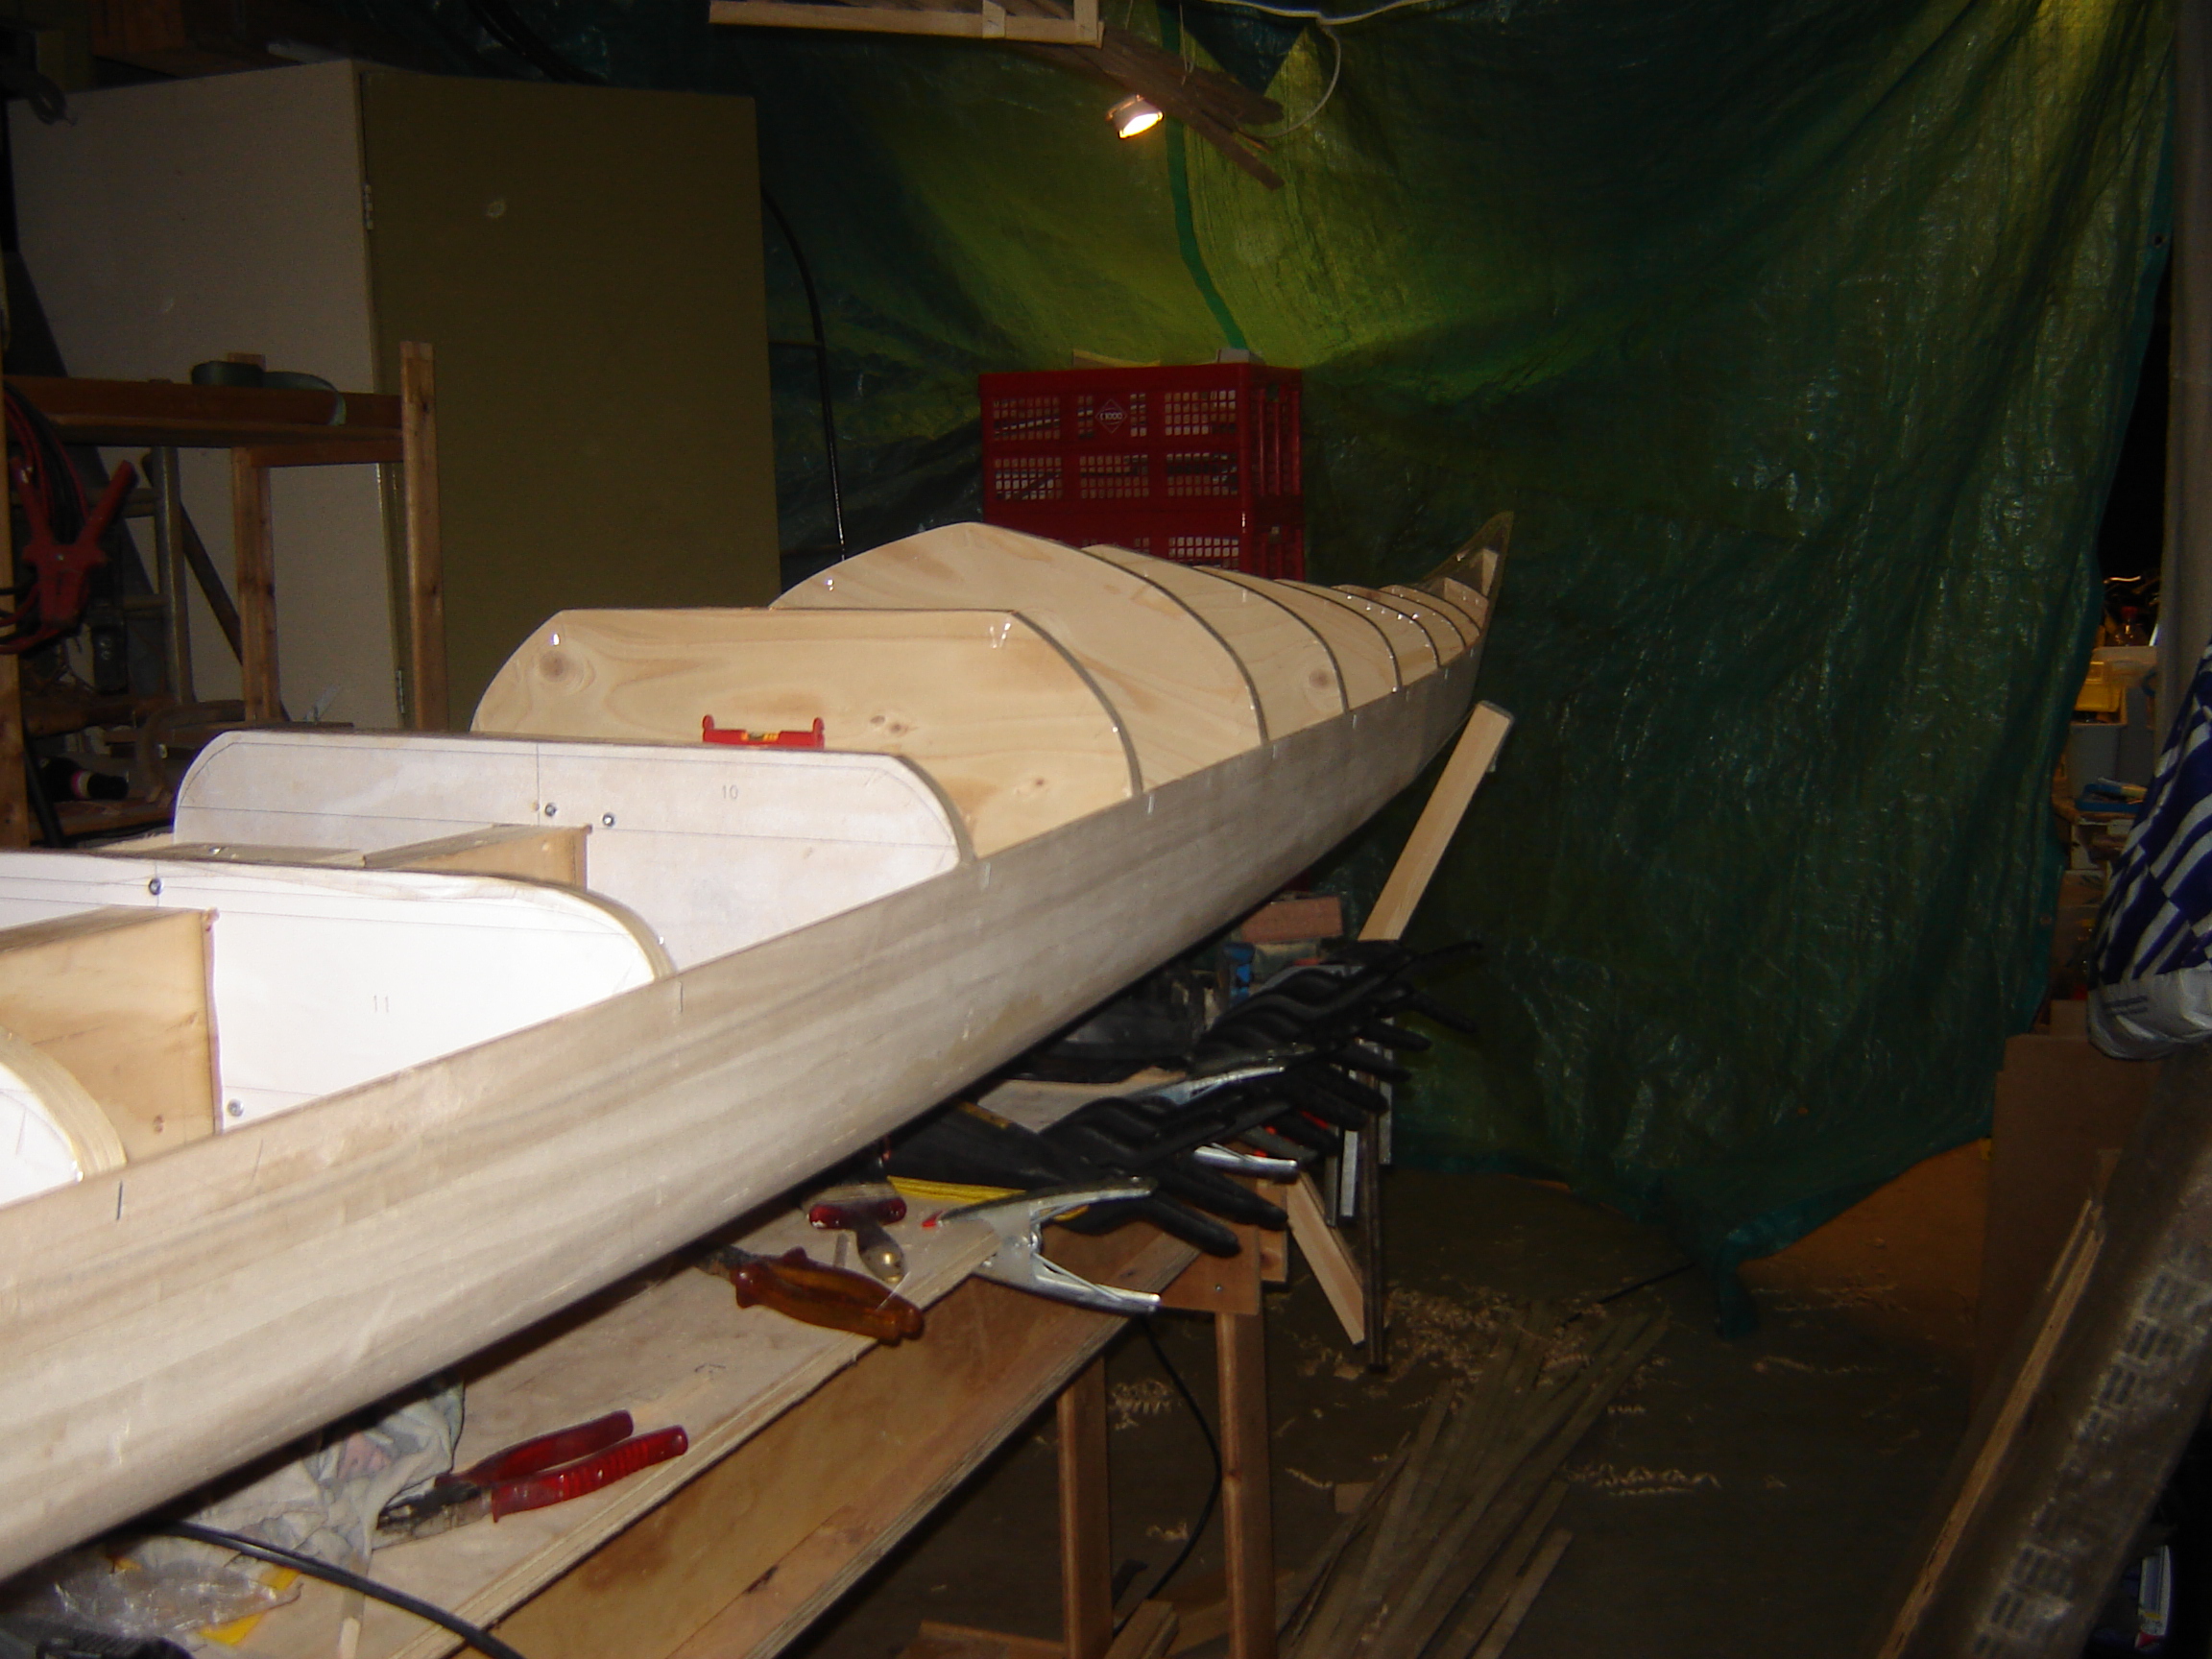
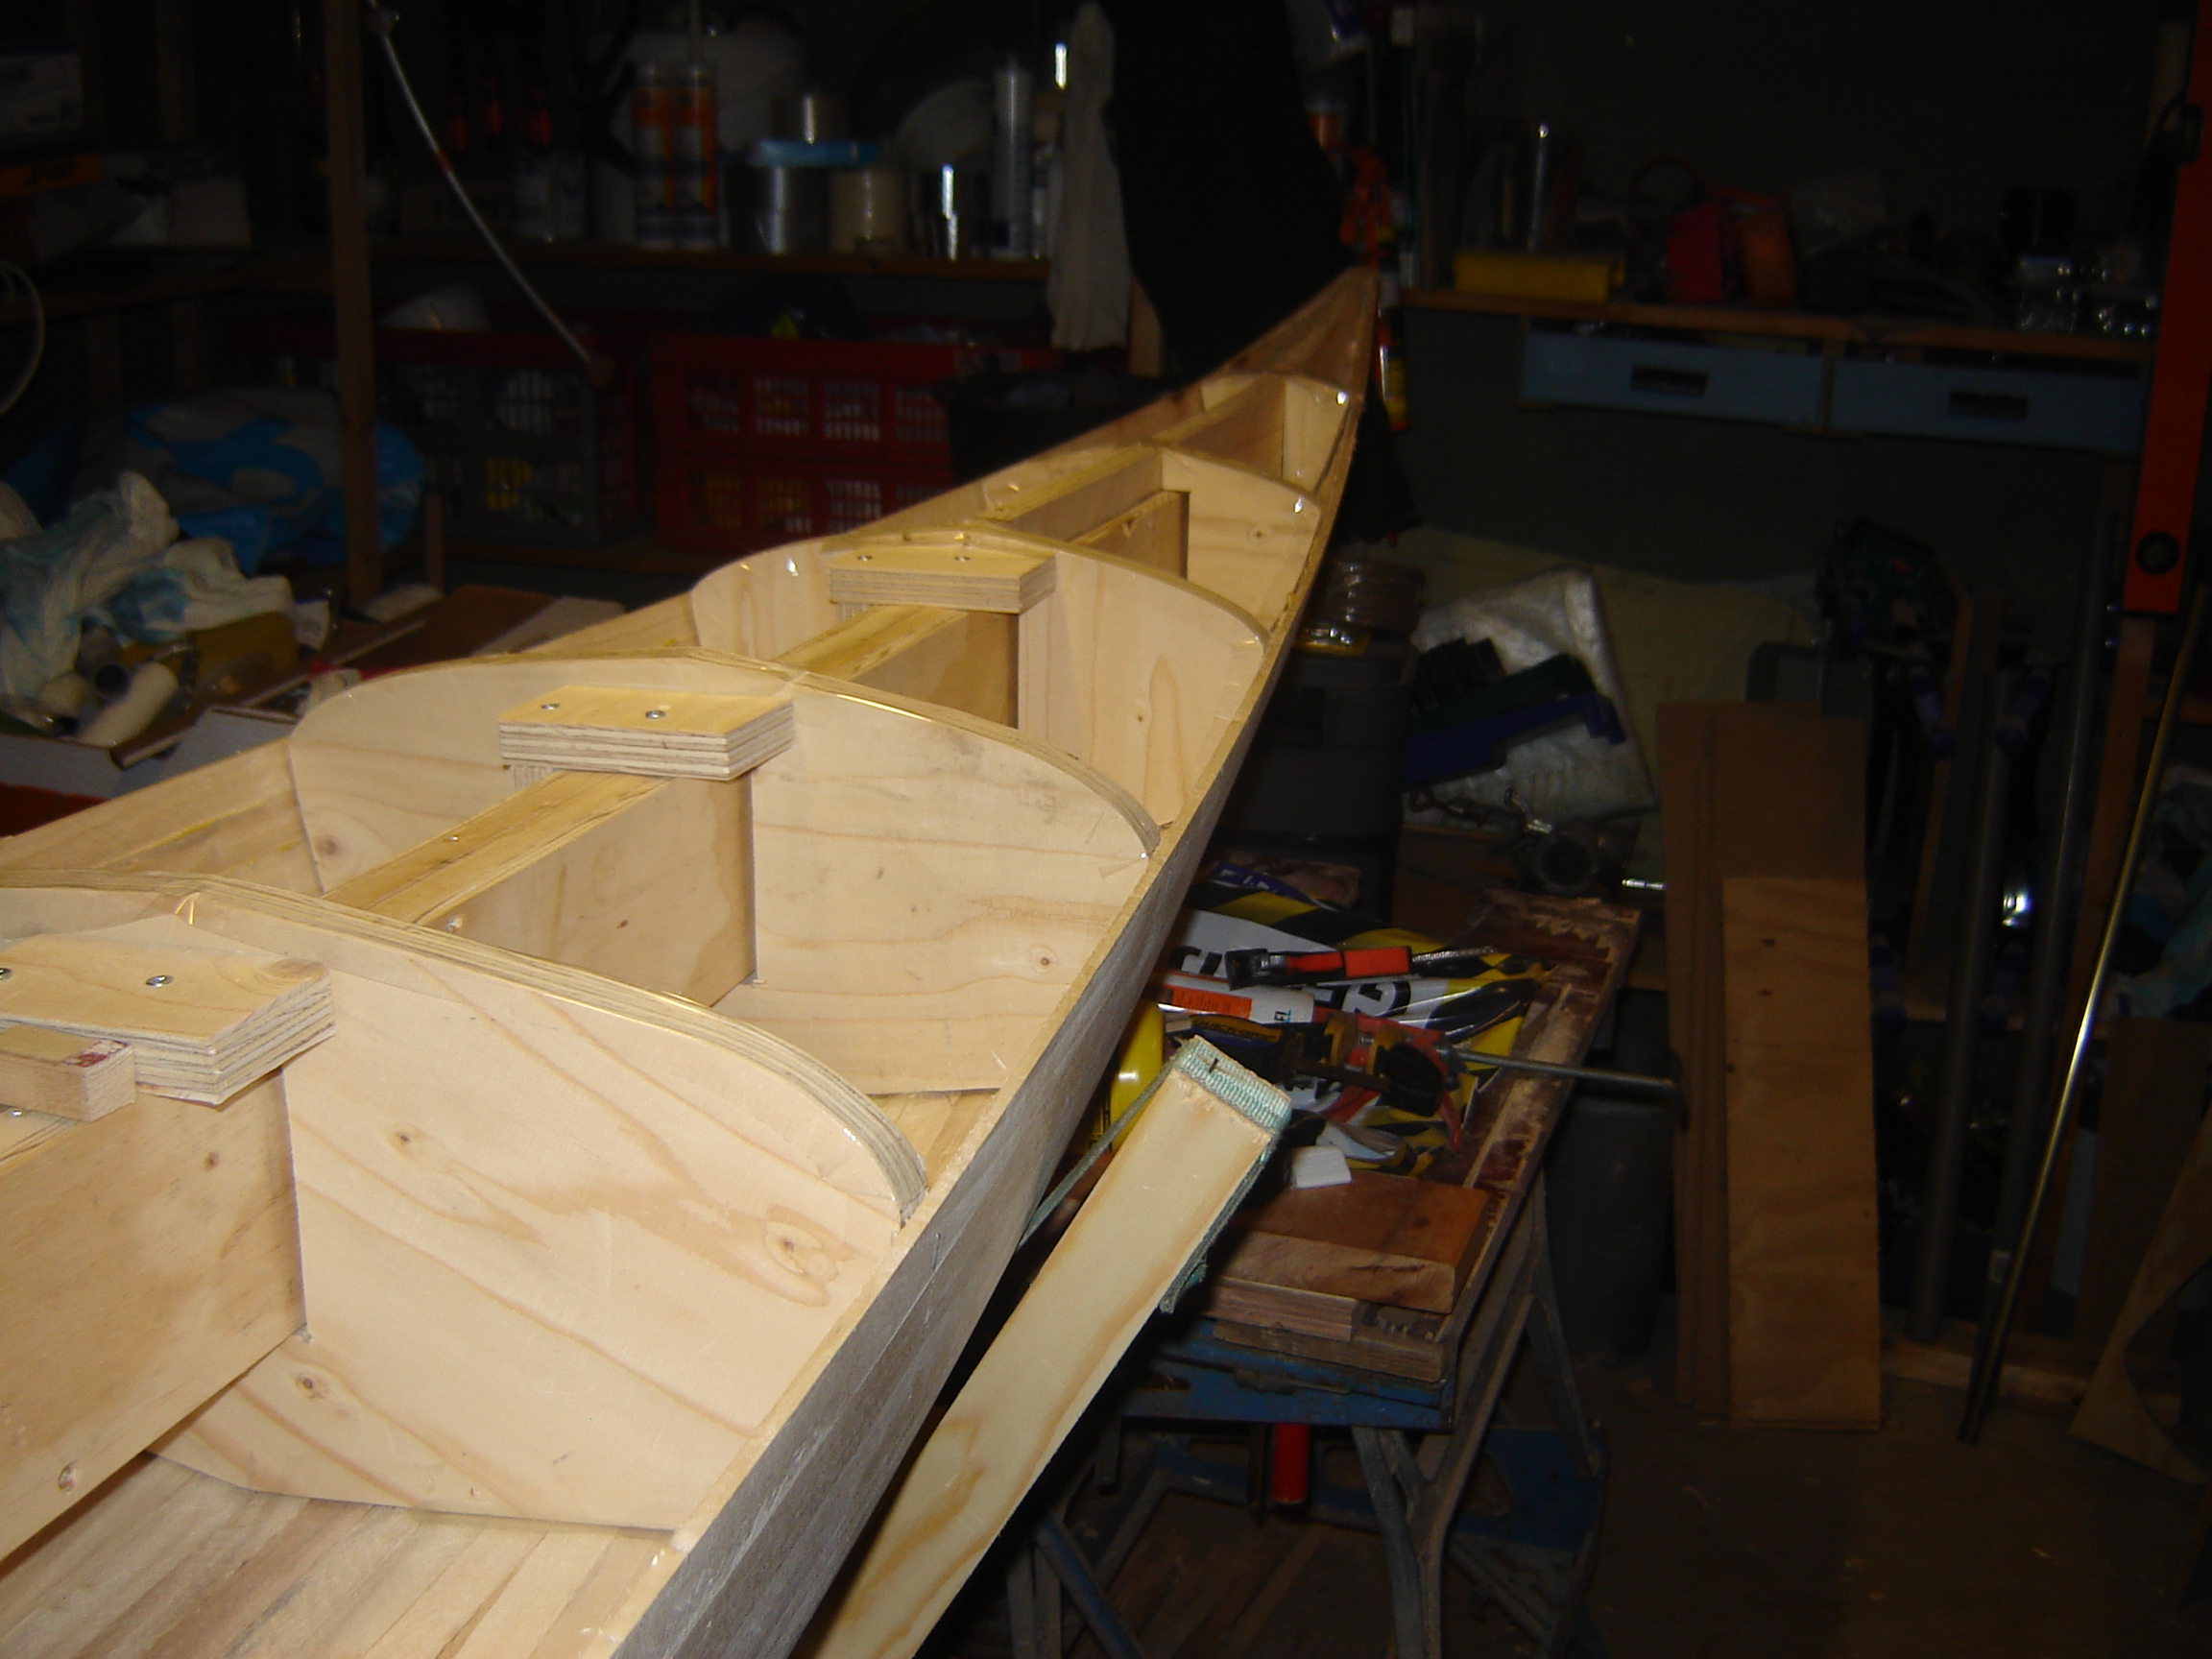
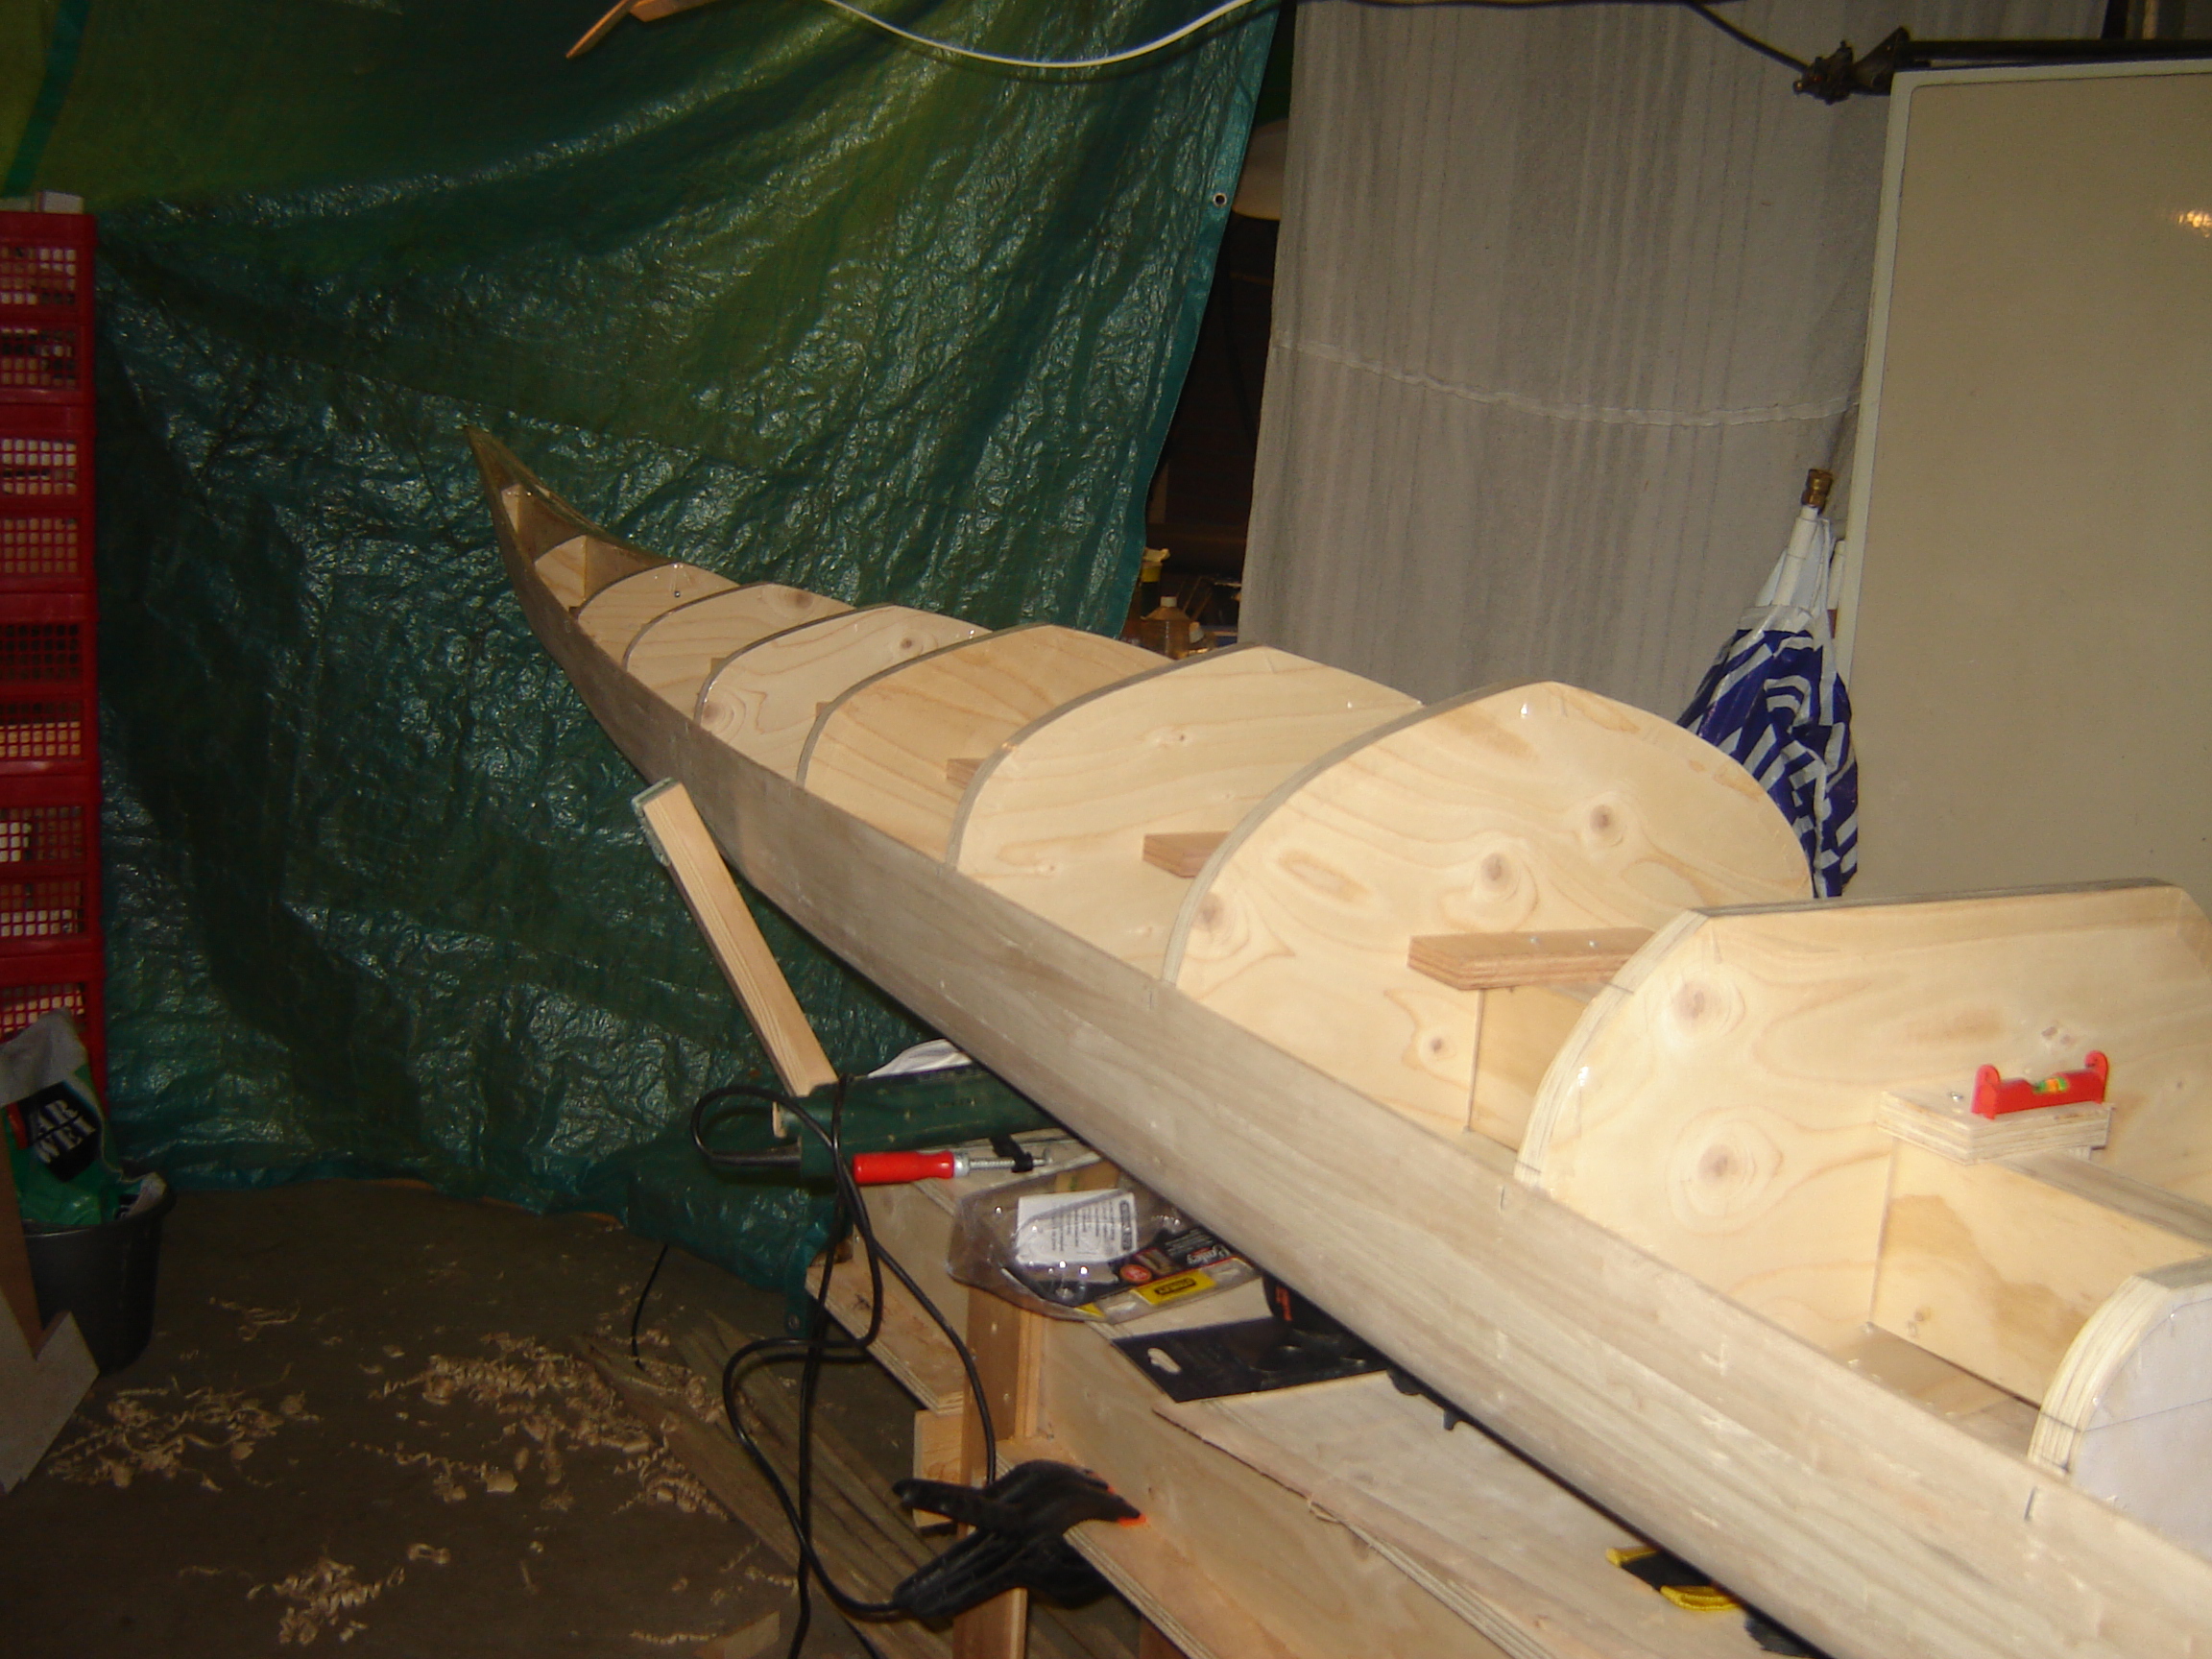
I made a box beam following Nick’s book. I did use an inferior quality of underlayment 19 mm thick. The result is a box beam that is not complete linear. Therefore I made the openings in the frame 1 cm wider then the prescribed 2 by 4 inch.
I draw a straight line on top of the box beam and centered the frames on that line. The rest went as described in Nick’s book.
The box beam is placed on an external strong back. This gives place for equipment like staplers, saws and heatgun.
I used the method described by Björn Thomasson (http://www.thomassondesign.com/building/building_manual/preparations.aspx). At first I prepared my circular saw with a wider foot plate and a longer fence.
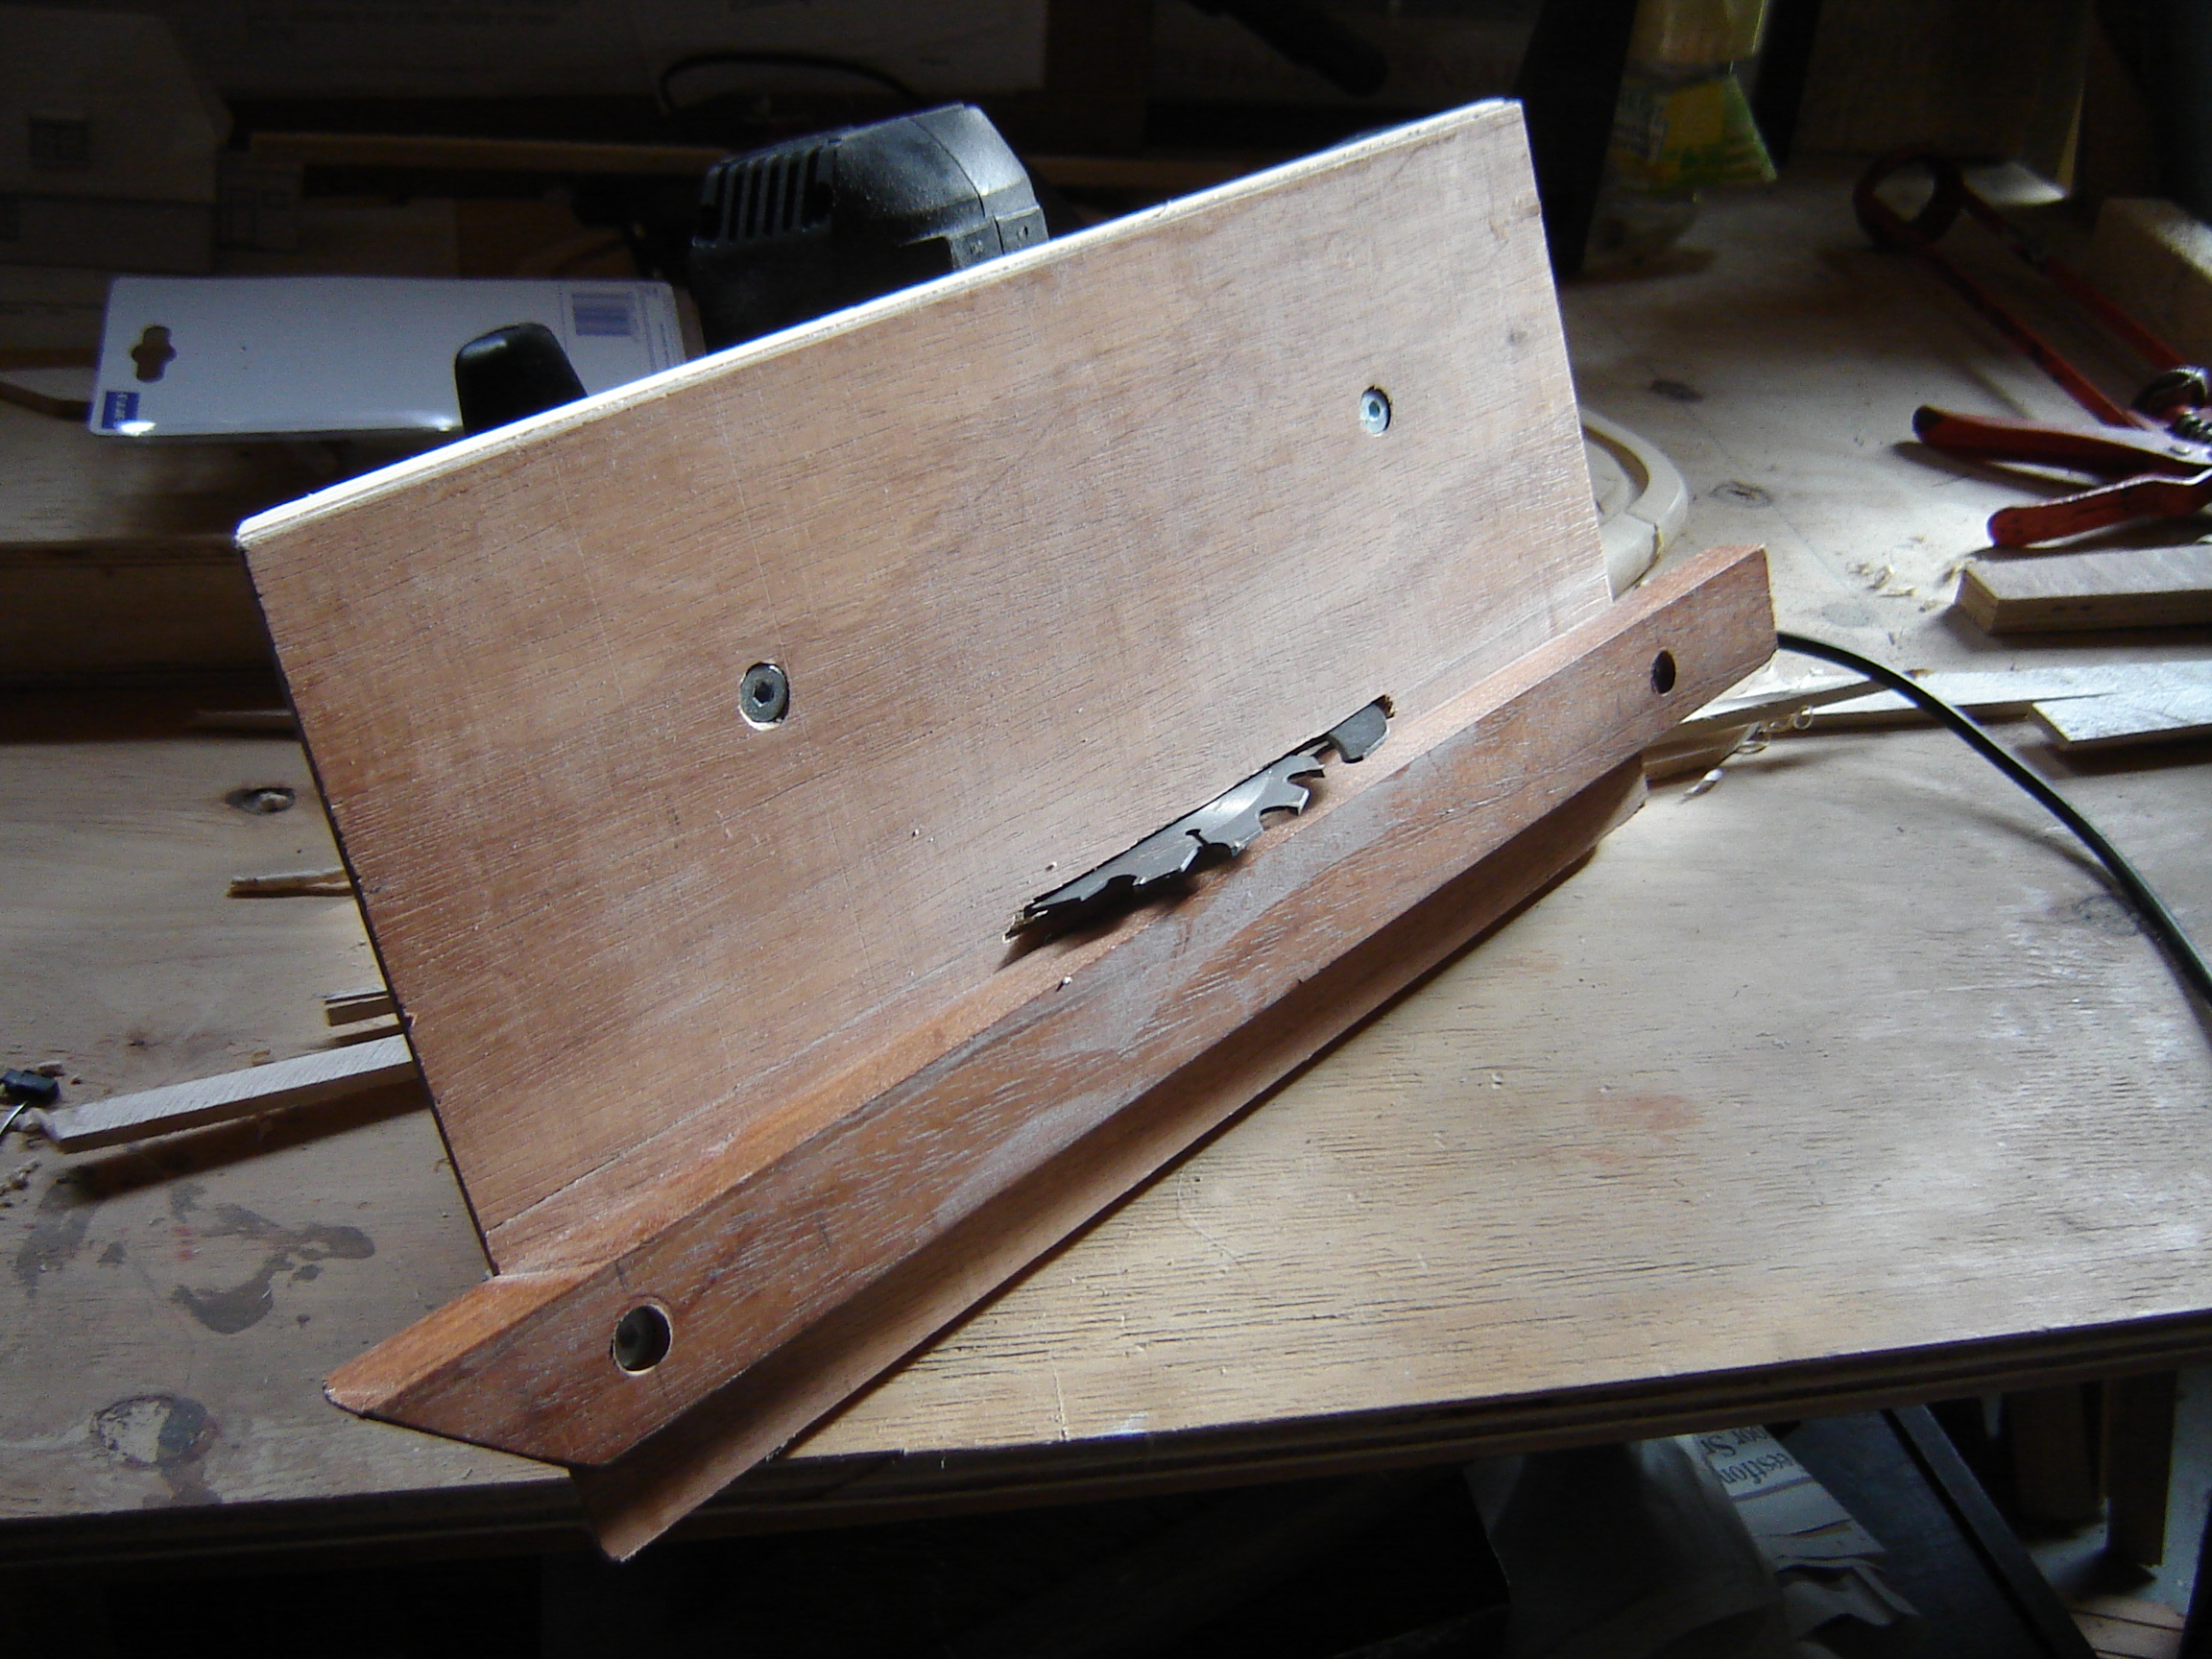
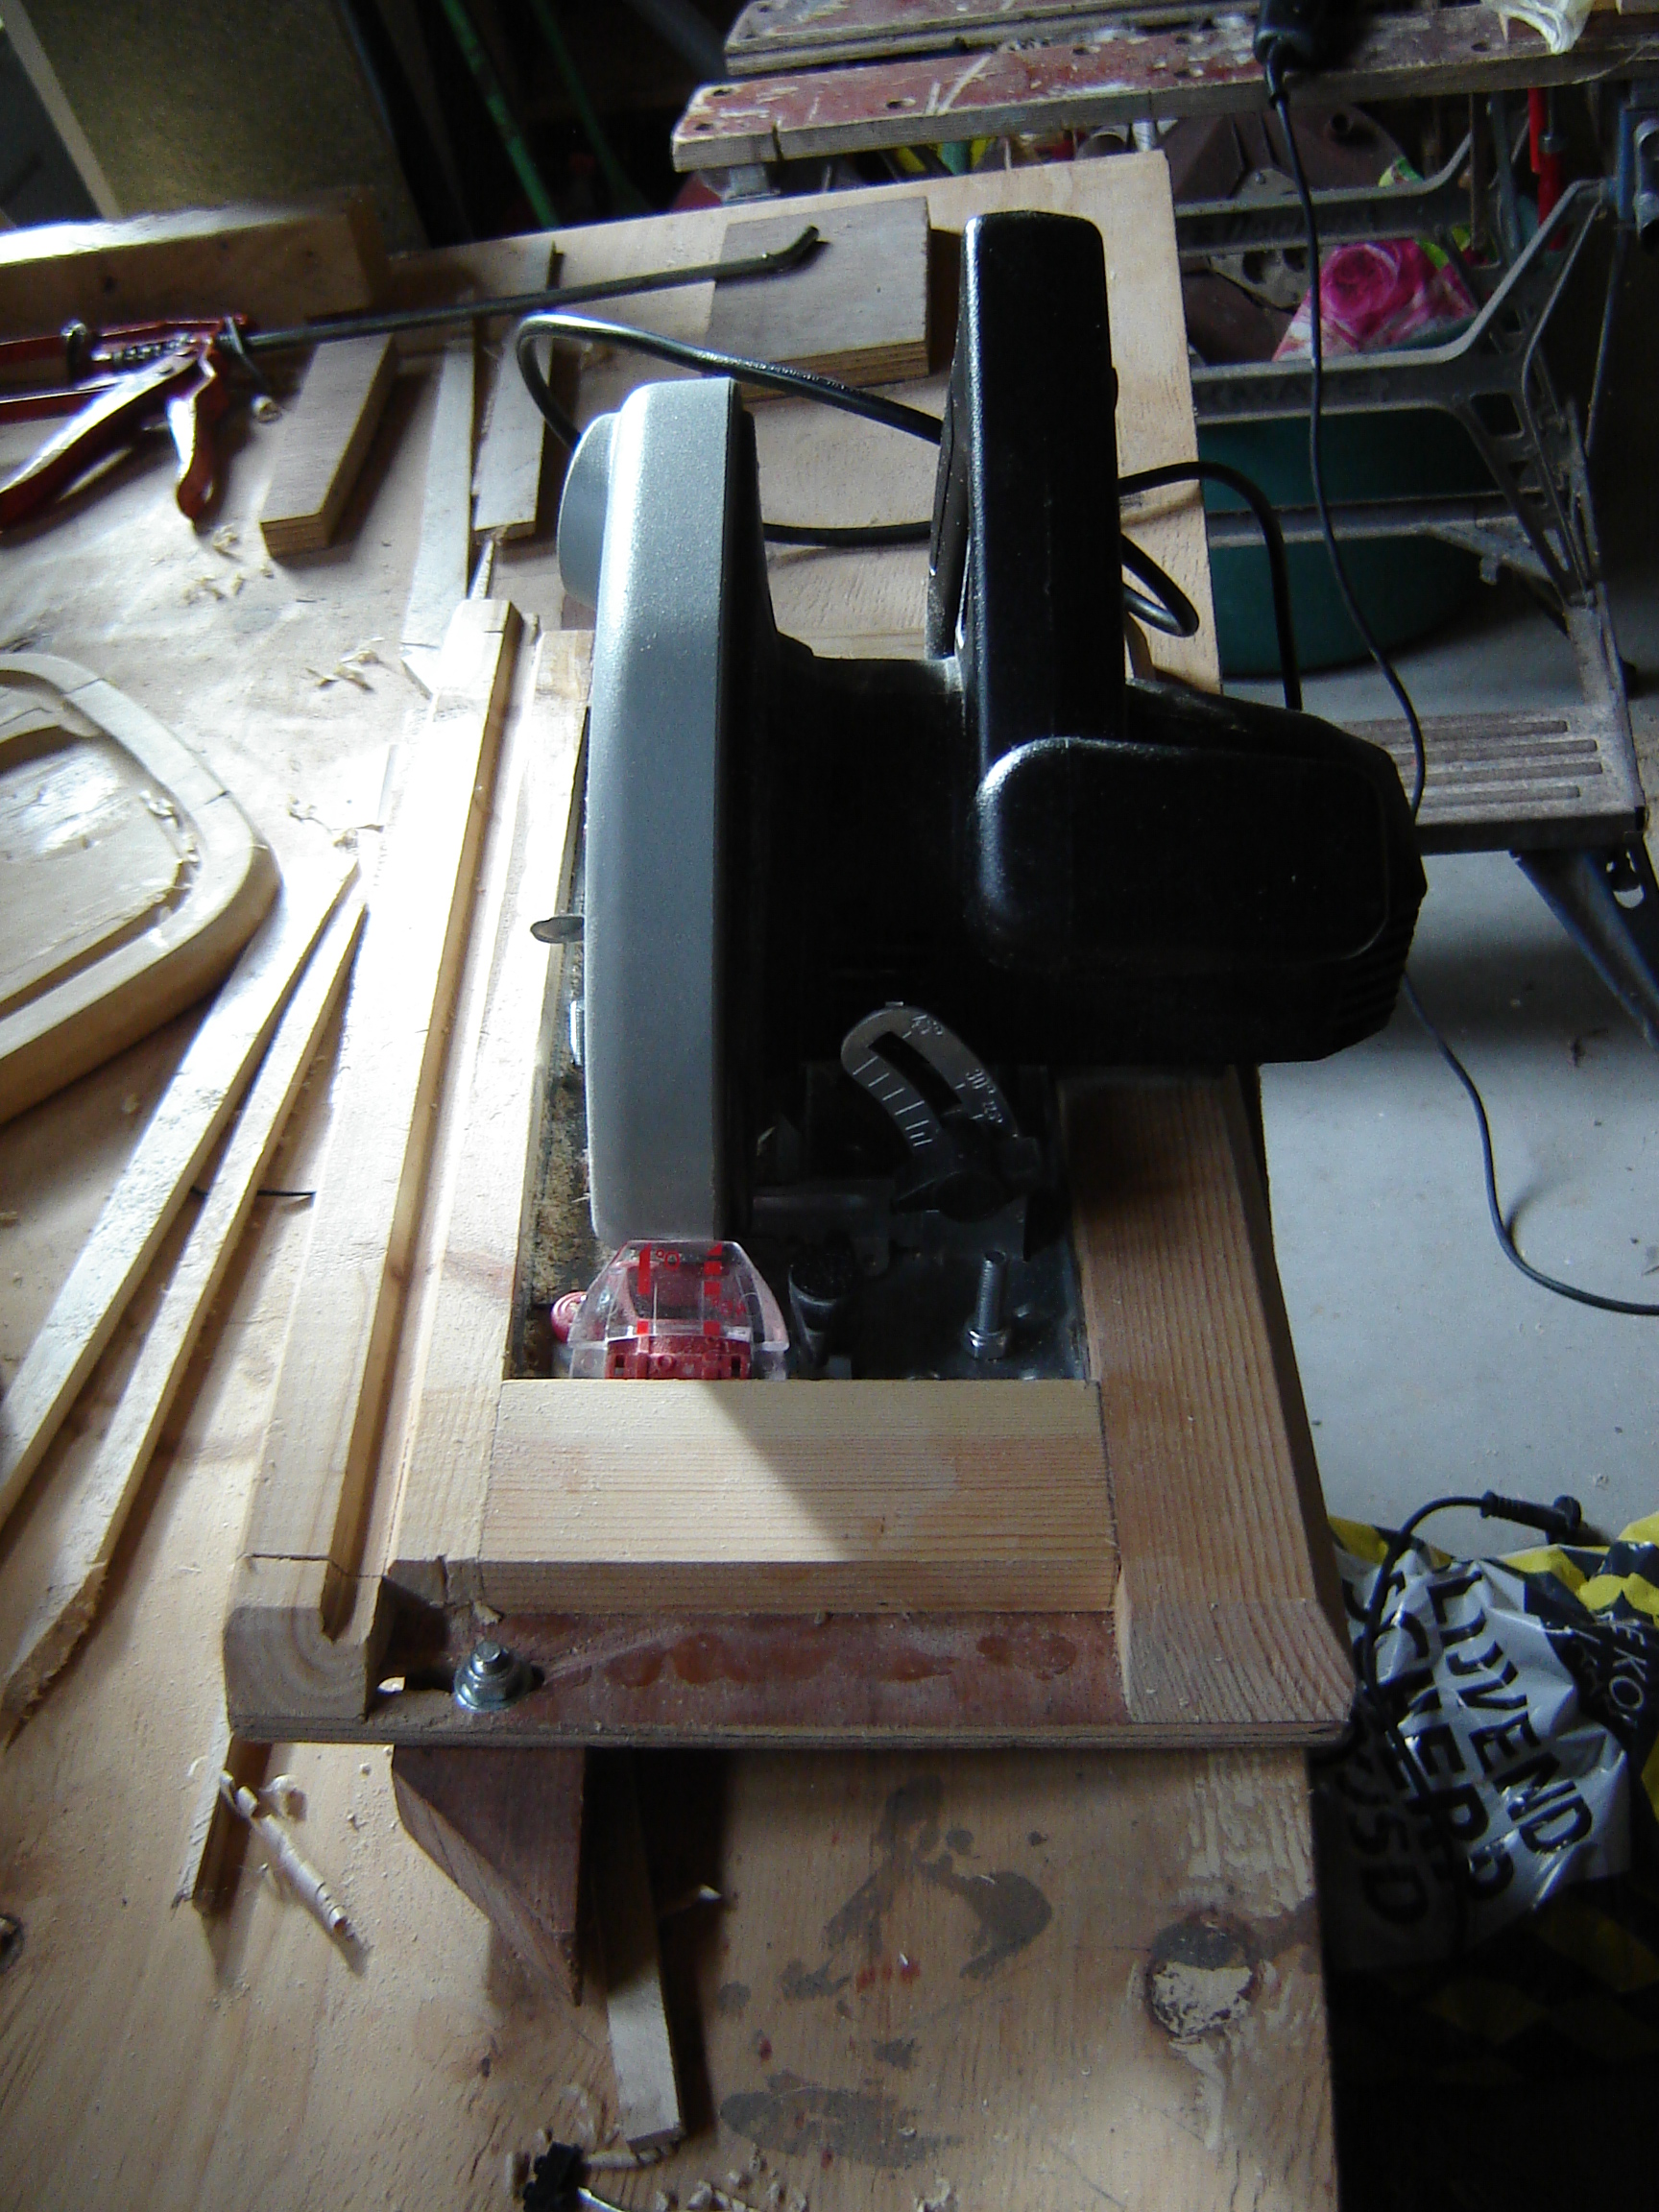
I thought it worked reasonable well but I payed not enough attention to the strip width. Now I have strips with varying strip thickness. I think the sawdust coming between board and fence caused the difference. I tried hard to keep the fence against the board but sometimes there was a little gap which i could not pull tight.
So now I have to use strips with different thickness and that will give a lot of extra work in sanding.
Next time I will make my strips on a table saw.